Valium 10Mg Buy Online Merging meshes is simple, however merging object textures is a complicated recipe. Thanks to the help of Quest Kennelly, resident Blender wizard, I was able to learn and master this process.
The Process of Baking Textures
Order Ultram Online Here is a detailed breakdown of baking textures onto meshes in Blender:
- Make sure you are in Cycles Render at the top https://anthonynewmancamps.com/concussion-in-sports/ MERGE MESHES
- Be sure your meshes are merged.
- Import both meshes
- Make sure the meshes are aligned
- With both meshes highlighted, press CNTRL-J to merge click here CREATE NEW UV MAP OF MESH
- Highlight all components
- In Edit mode, go to the left menu to “Shading/UVs” and select “Mark Seam” which is marking the edges of the vertices as seams. This creates the seams that will inform the new UV map in the next step.
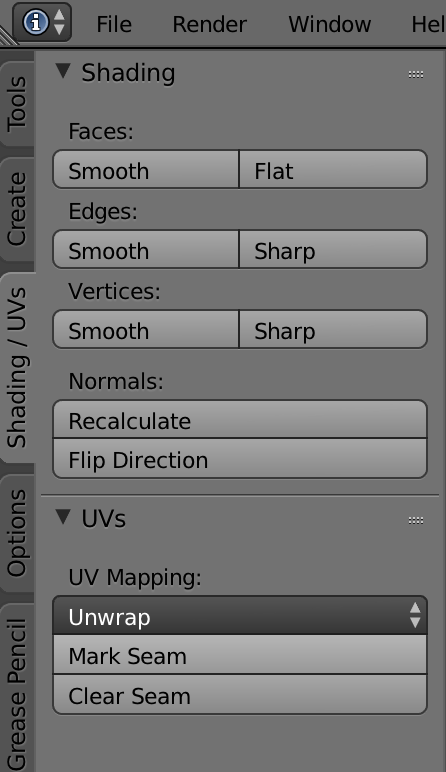
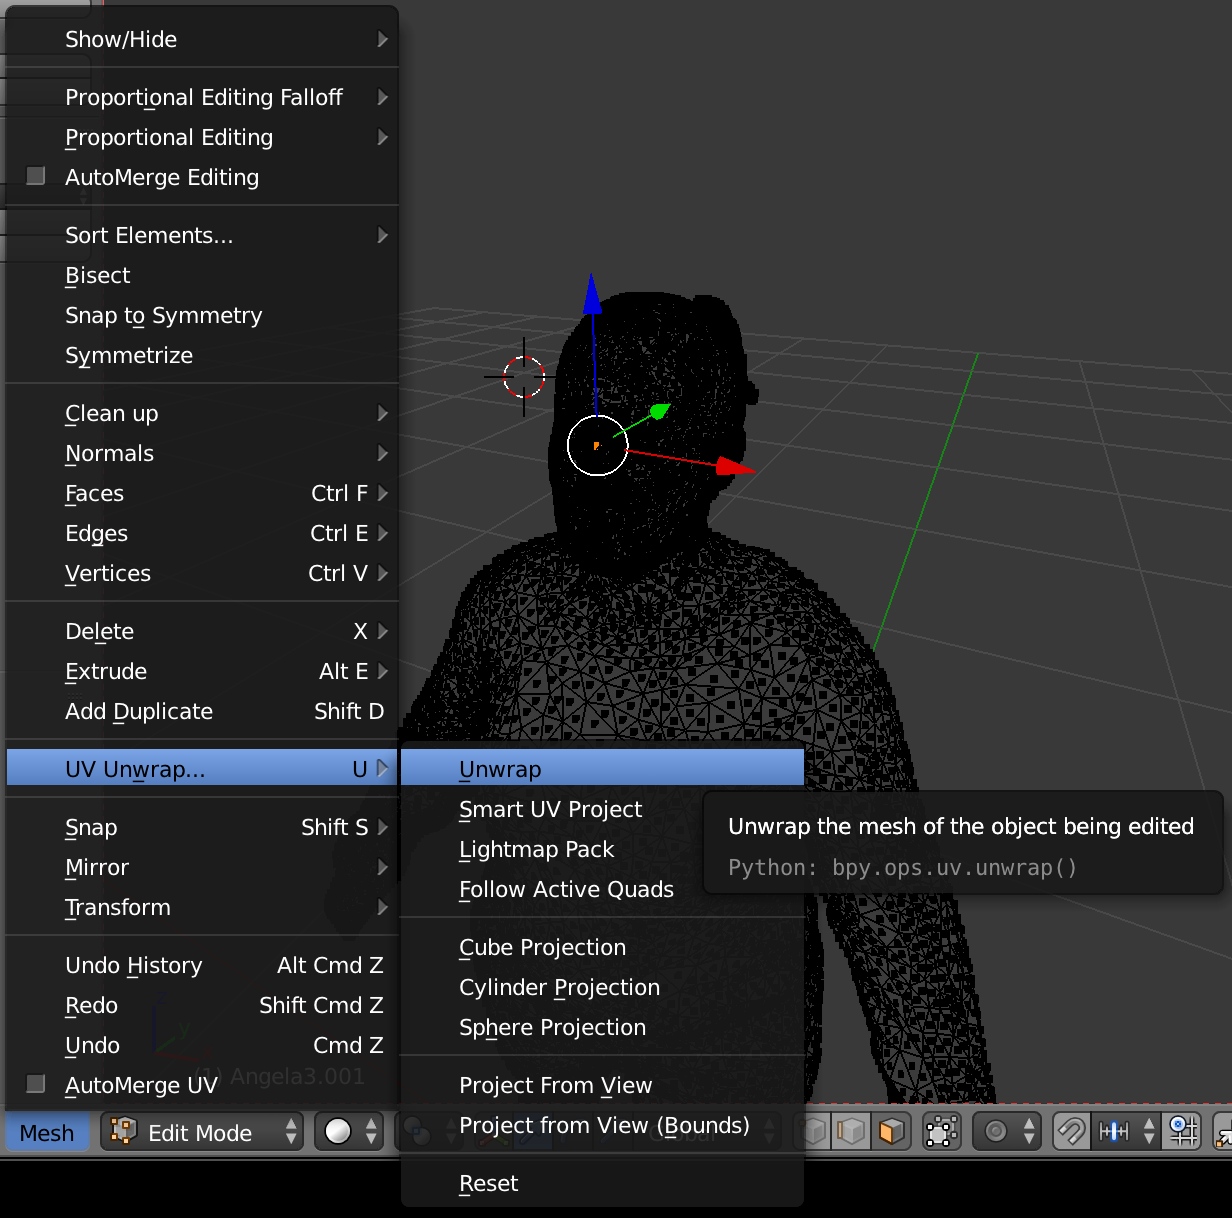
- Click on the MESH menu, UV Unwrap and Unwrap. This may take a bit of time to complete. You now have a new map of
 click here SET UP THE MESH FOR DUPLICATION
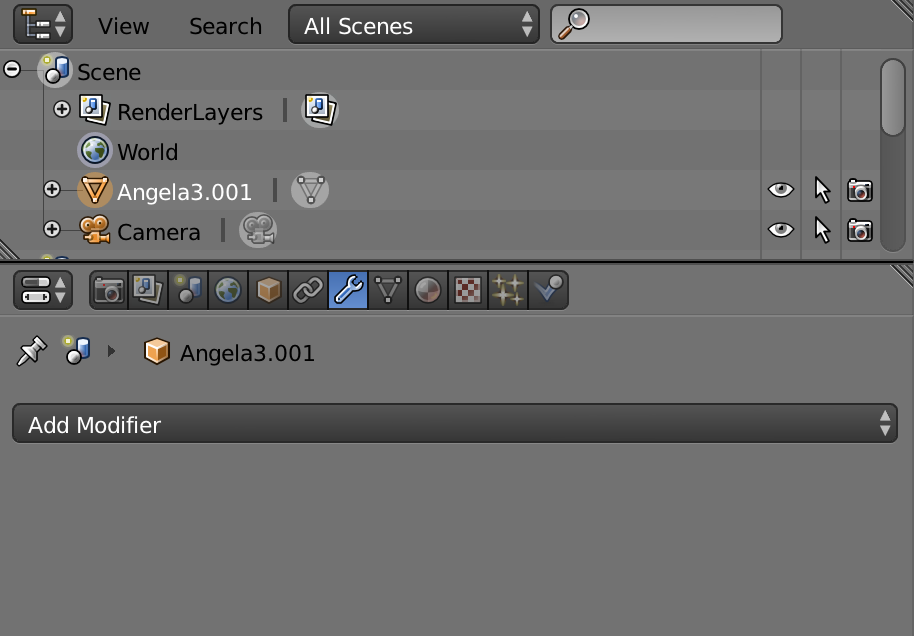
 - Make sure that there are no modifiers on the object in the tool menu
- In Edit mode, select all
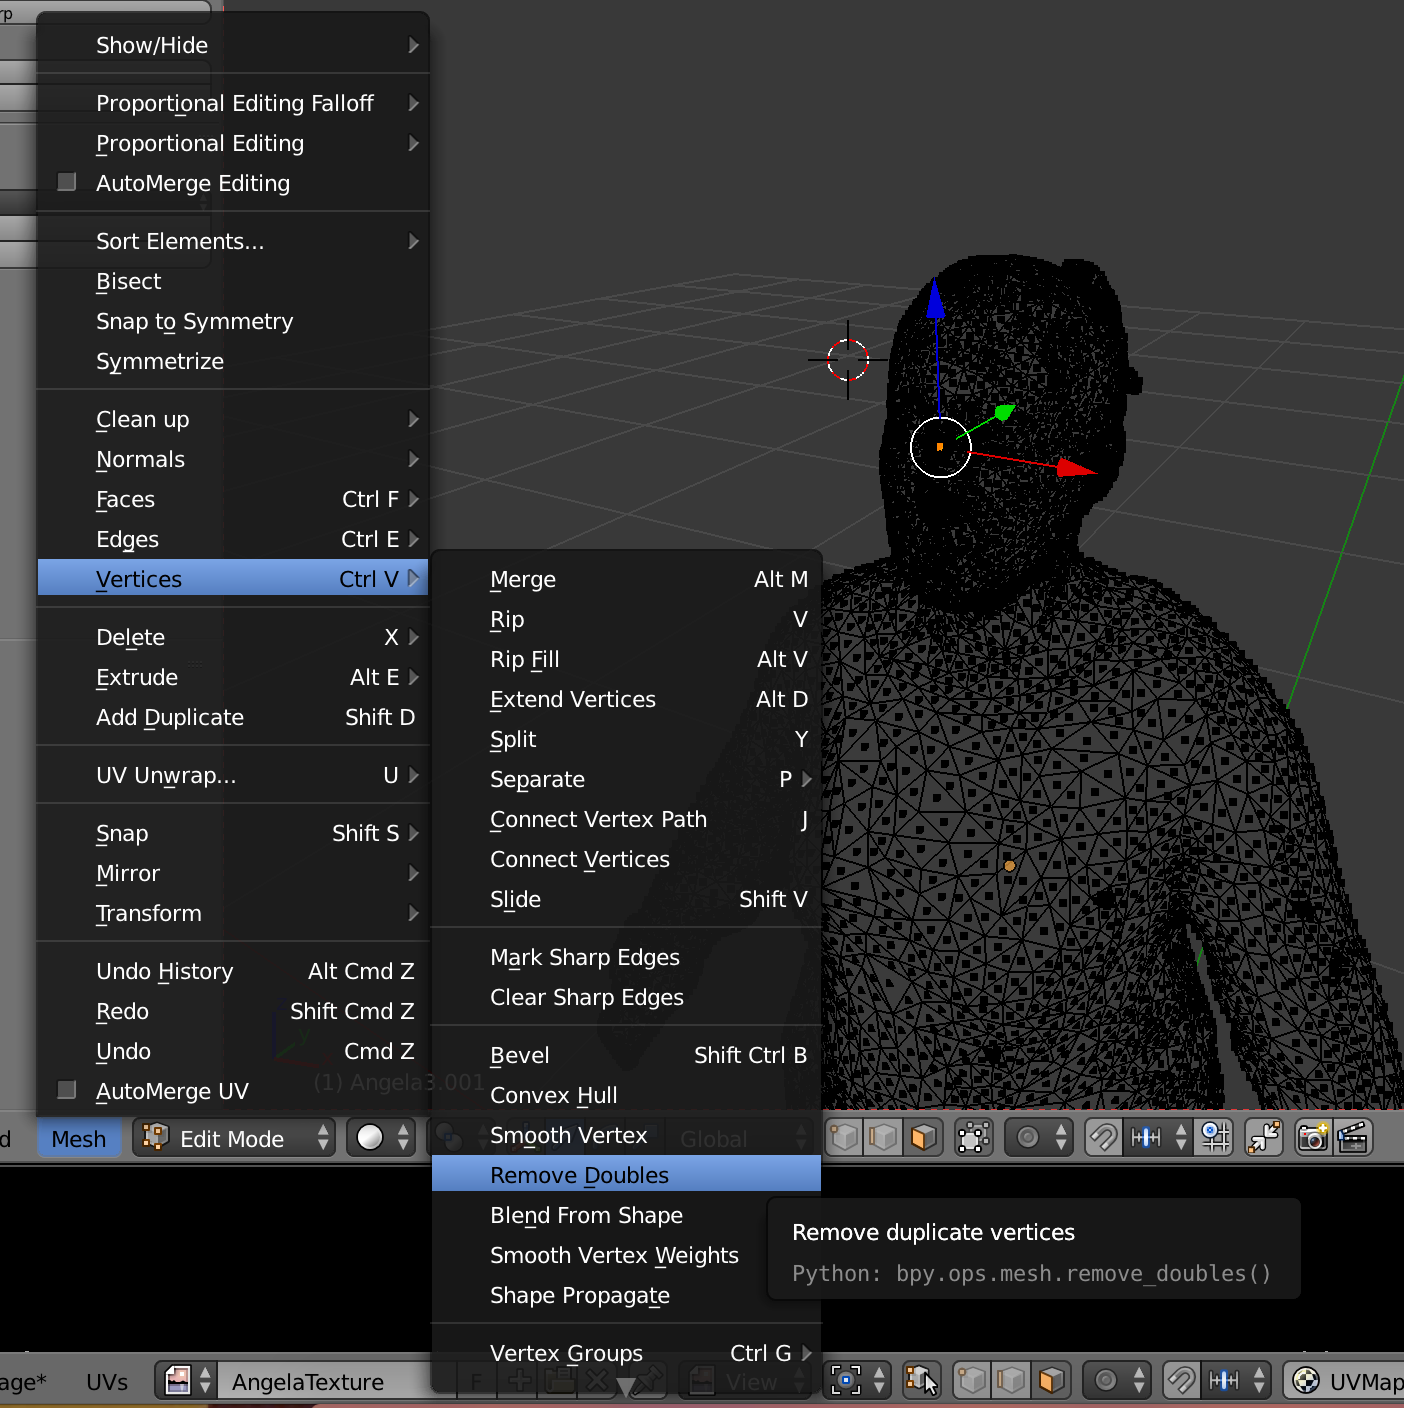
- Remove double vertices by going to the MESH menu -> Vertices -> Remove Doubles
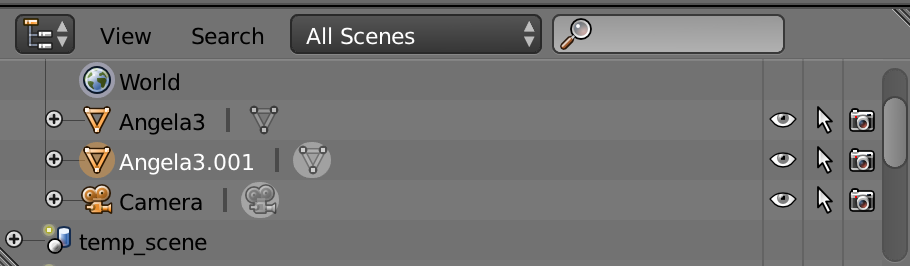
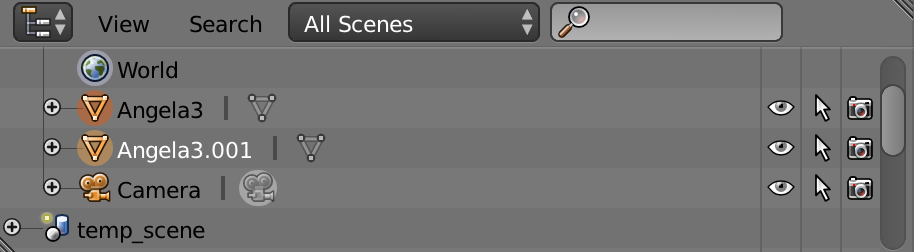
https://bettierose.co.uk/booking/ DUPLICATE MESH OBJECT - Duplicate the mesh by pressing SHIFT-D-ENTER. You are creating this duplicate to bake your textures onto from the original. Do not move this duplicate. Leave it in place. You should see it appear as a new object in the Scenes menu on the right. https://www.jacobysaustin.com/mercantile/ REMOVE MATERIAL/TEXTURE FROM DUPLICATE
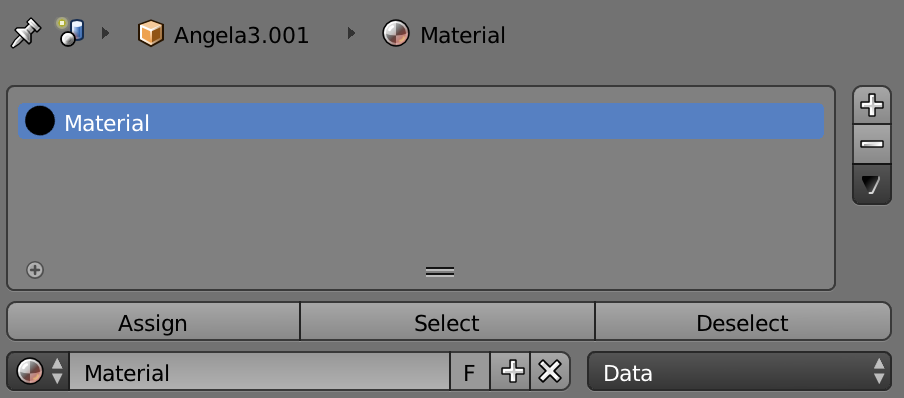
- Be sure that the duplicate object is highlighted/selected in the scenes menu
- In object mode, remove the material from the duplicate object by clicking the minus sign
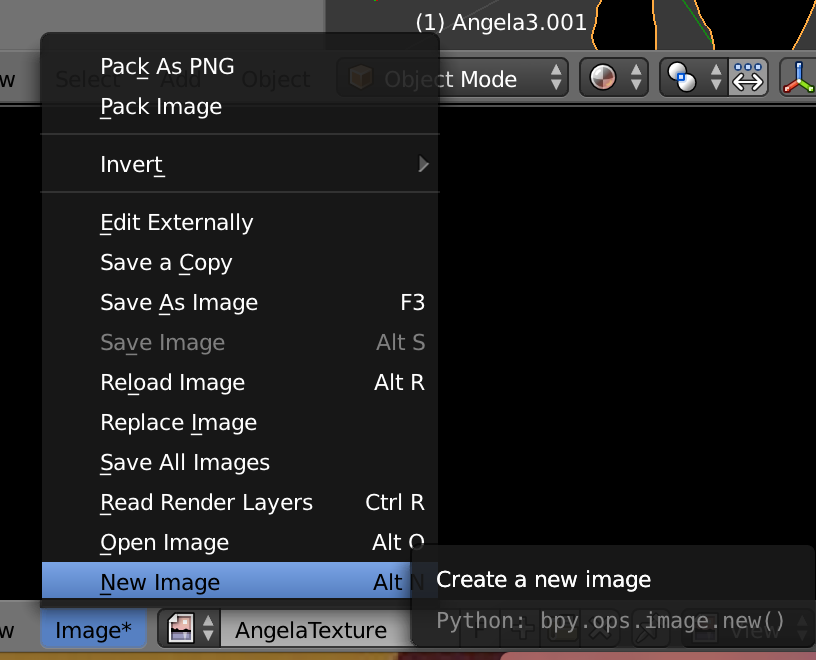
go to site ADD NEW MATERAL - First, create a new, blank image.
- In the UV/Image Editor window, select “Image*” –> “New Image”
- Name the image and give it a size – 3072 x 3072 is a good place to start (big is good)

- In the UV/Image Editor window, select “Image*” –> “New Image”
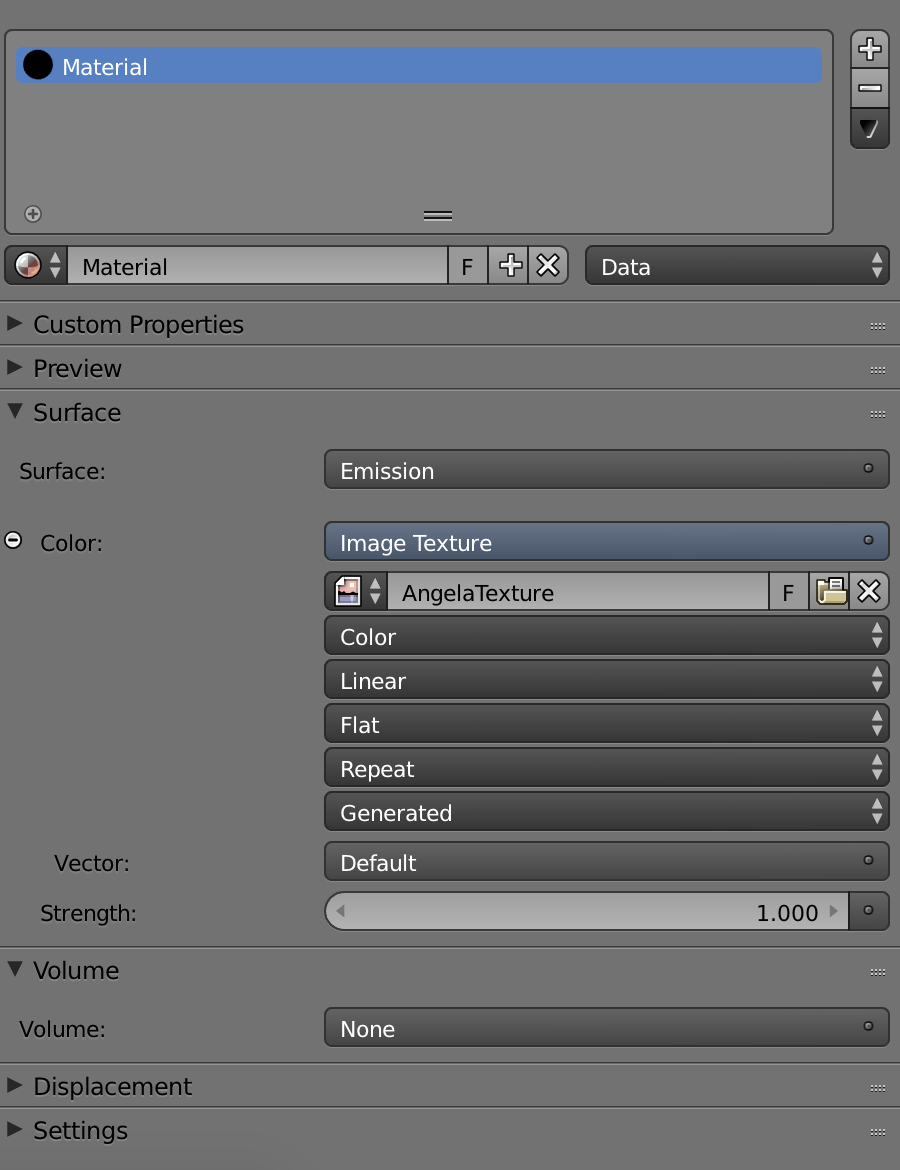
- You will now add new material that will be the material that you bake the new texture to
- You will now add new material that will be the material that you bake the new texture to
- Click the plus sign
- Select “emission” in the surface option, as that is how you want to receive the texture. This will give you the texture as it is without the light having any effect.
- Add the new image that you just created as the texture file
 go site
https://www.ztpackaging.com/soft-loop/ BAKING THE TEXTURE
- Select the original object then select the duplicate (in that order) in the scenes menu so that they are both highlighted/selected (the duplicate should be highlighted in lighter orange)
- Before baking, select the settings of the bake.
- In the “bake type” menu select “emit.” This also matches the “emission” setting of the material we added earlier
- Depending on your mesh and material, you can play with the settings of “Margin” and “Ray Distance” until you get the texture that looks best. You will just need to keep re-baking
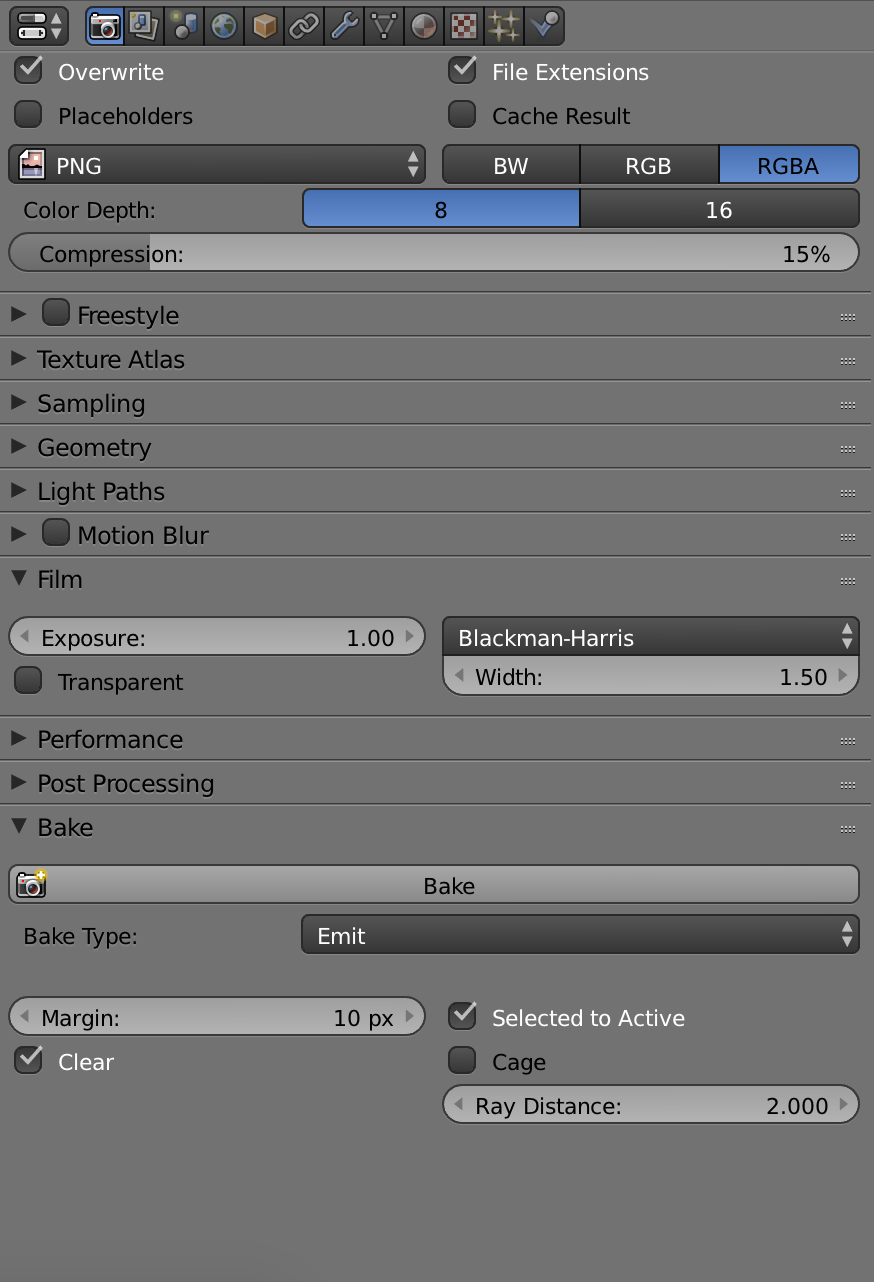
- Press the “Bake” button. This process could take a bit enter site REMOVE ORIGINAL
- Once the texture has baked, feel free to remove the original object, as you should be all set with your new merged mesh with a full matching texture
Final Touches
Tramadol For Sale Online The textures baked nicely but not perfectly. So once the texture was baked and matching the merged mesh, I went through the entire surface, filling in any missing missing holes.
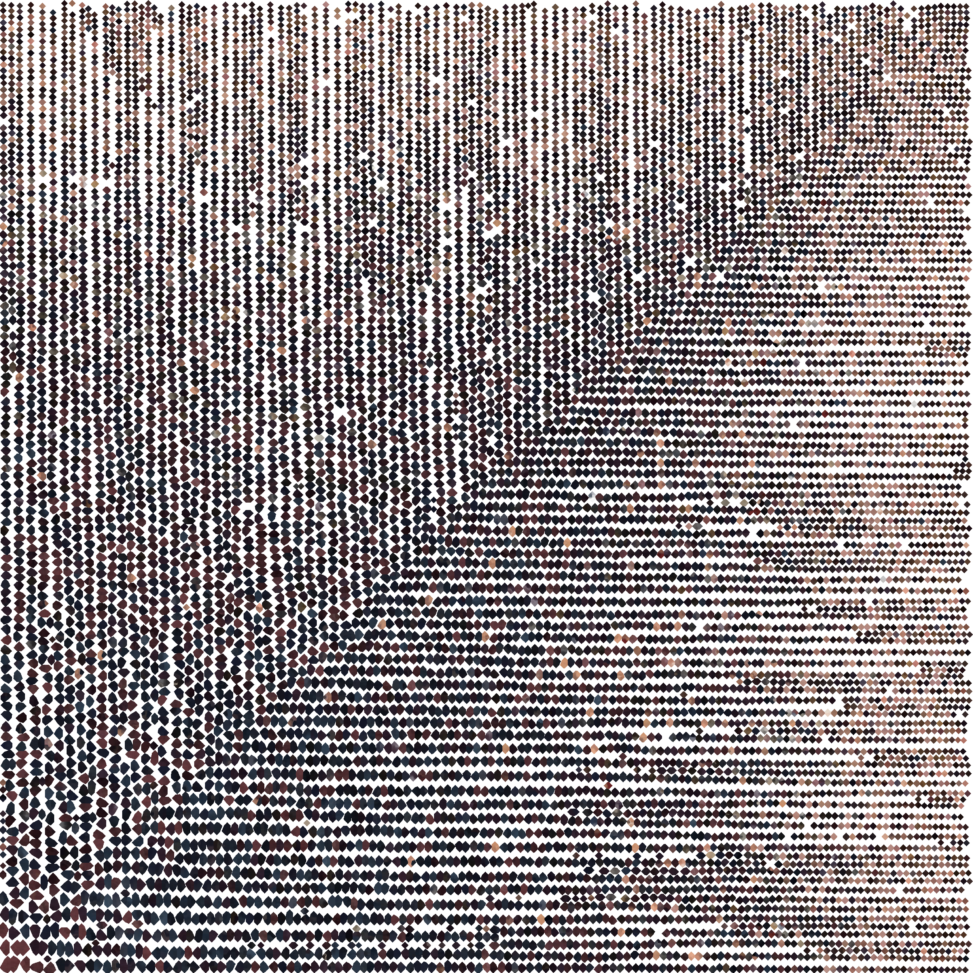
https://bettierose.co.uk/patricks-barn/ This was a bit tedious but worth it to make the meshes as true-to-life as possible. Viewing the UV map of the texture while also looking at the mesh in edit mode, I was able to highlight the empty or incorrect vertices in the edit window, and see their location highlighted in the UV map. I then moved the highlighted vertices to the appropriate, corresponding color patches in the UV map.


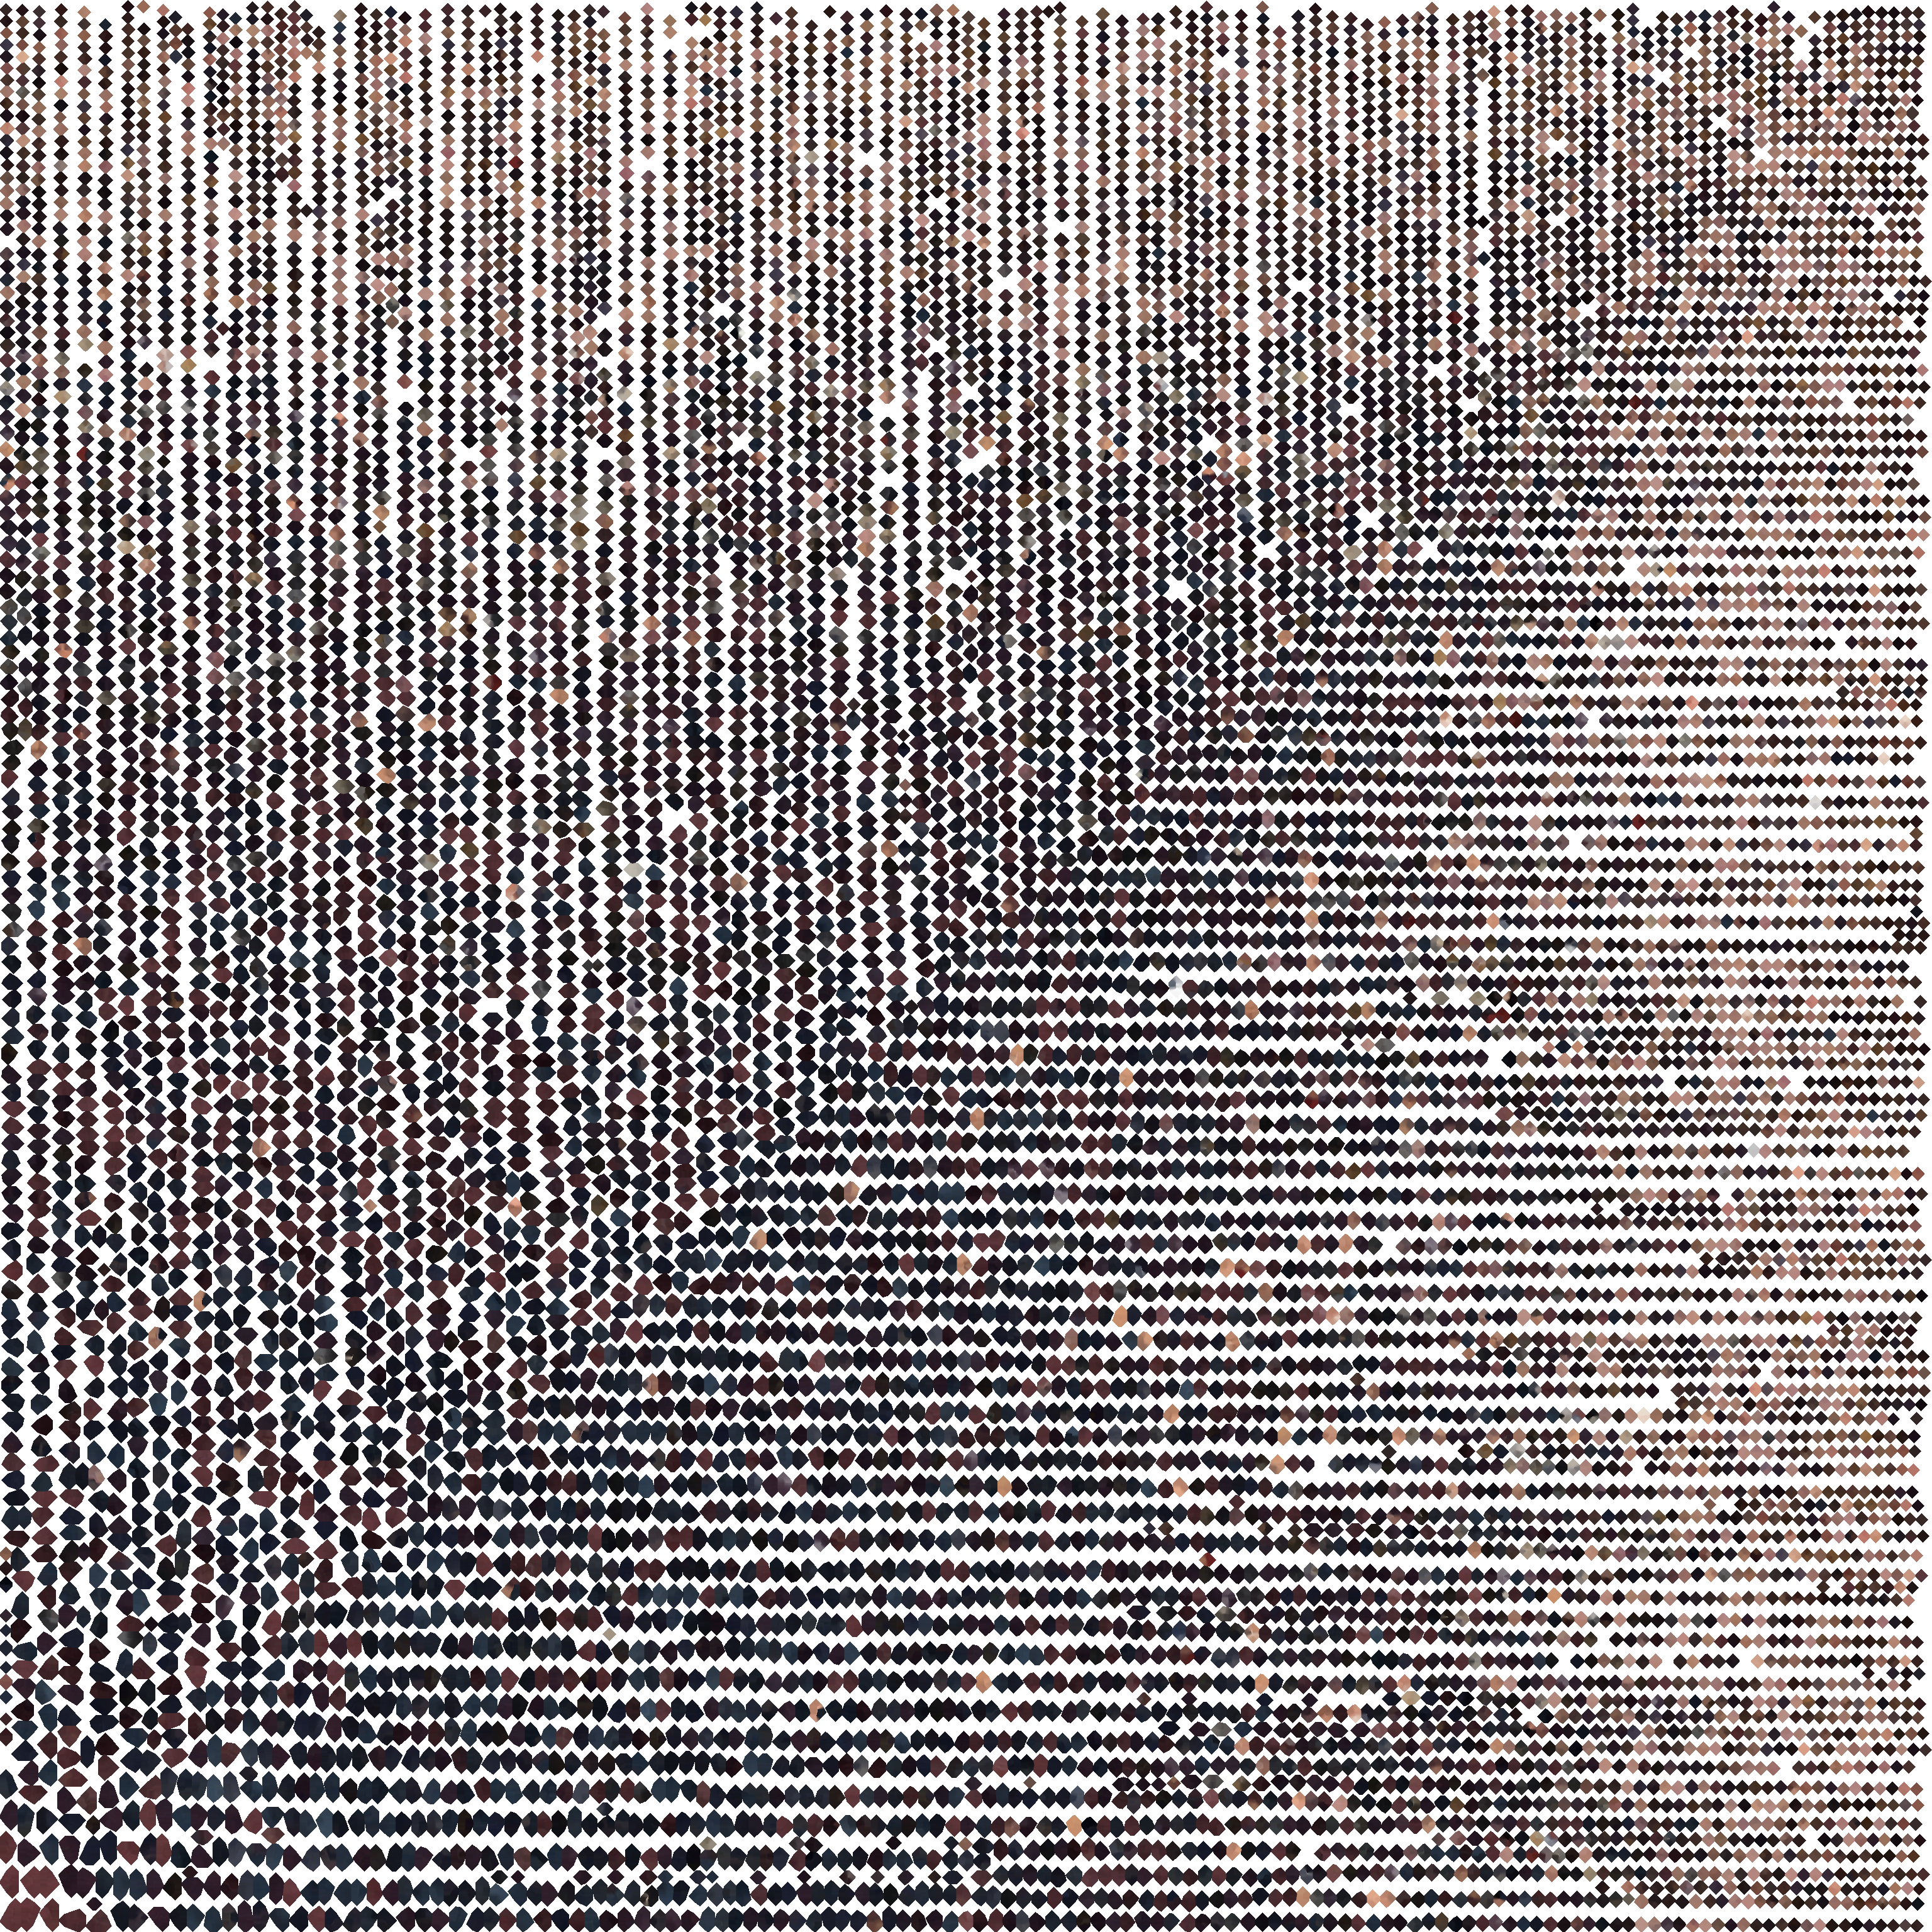
go to link UV Map
Leave a Reply