
Actually, I did not find a way to incorporate sin and cos in the code for this week’s assignment, however, geometry was definitely the focal point as I stepped into the world of polygons, paths, and bezier and cubic curves.
the design challenge
Using Rune.polygon and Rune.path, create a design with two shapes, one that embodies “wet” and one that embodies “sharp.”
the inspiration
I wanted to capture a surfboard cutting through the ocean on a wave. I used this iconic image as inspiration.
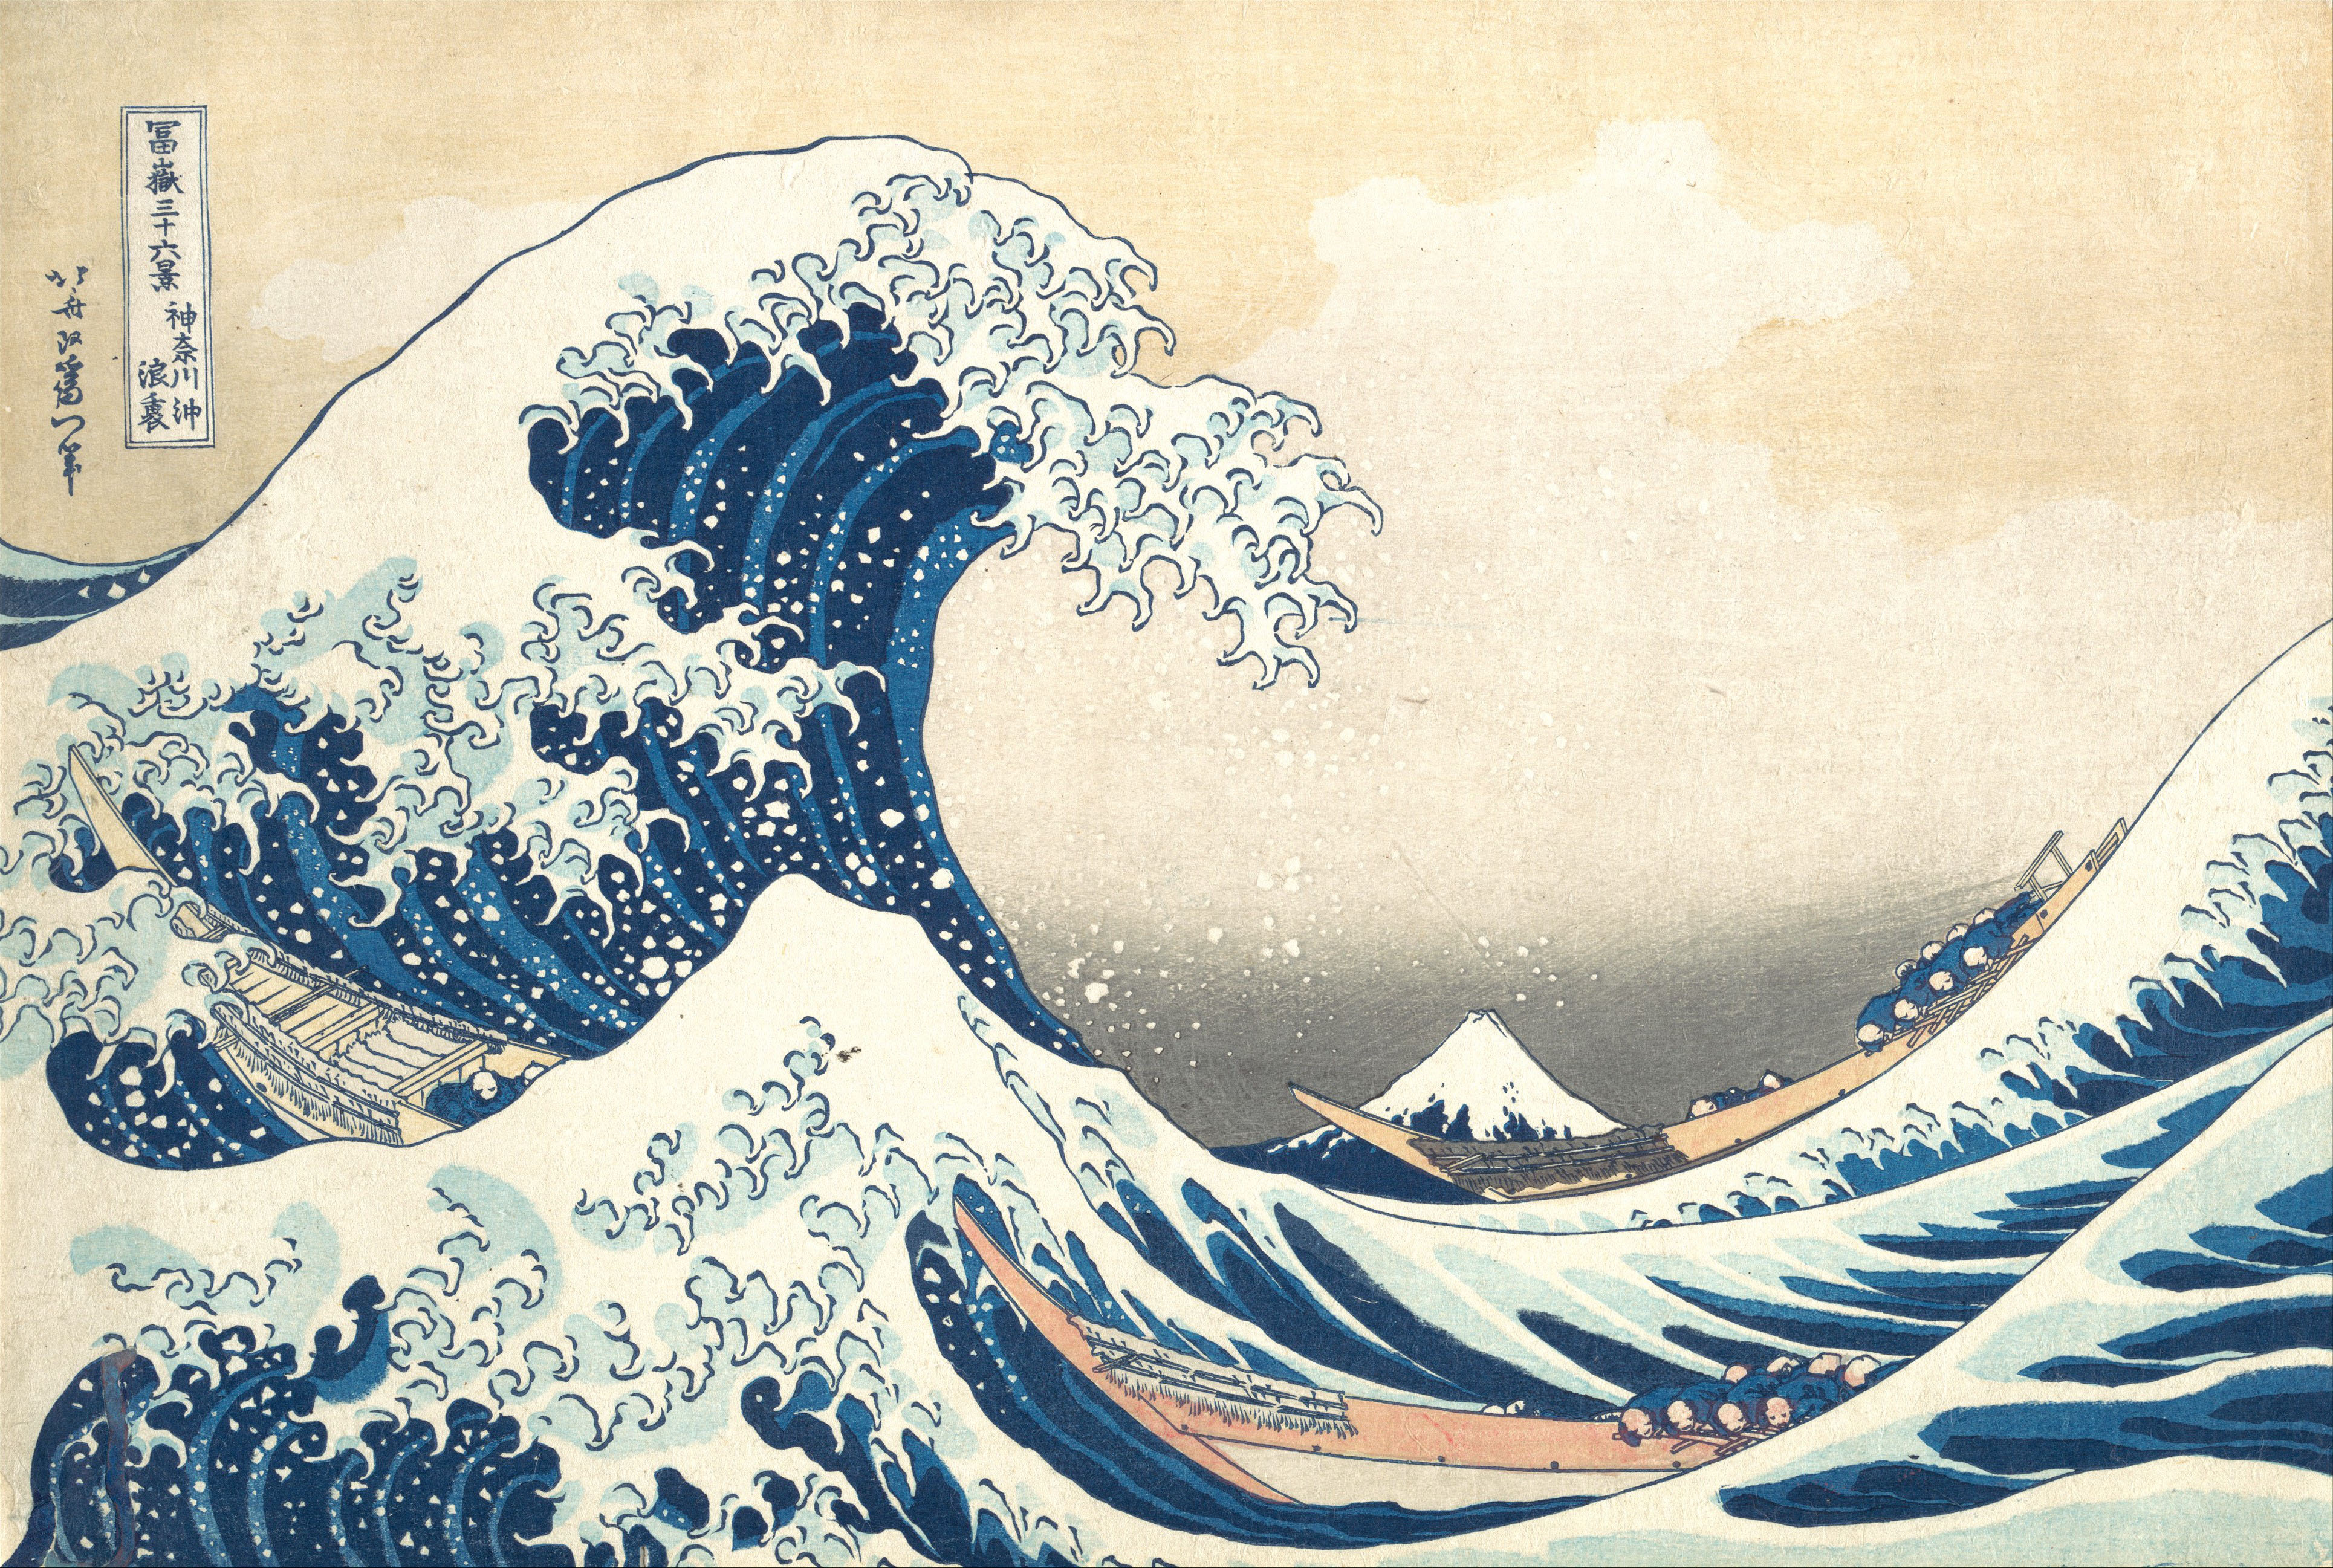
“Under the Great Wave,” Hokusai, Image courtesy of The Met:
http://www.metmuseum.org/blogs/now-at-the-met/2014/great-wave
the design
the code
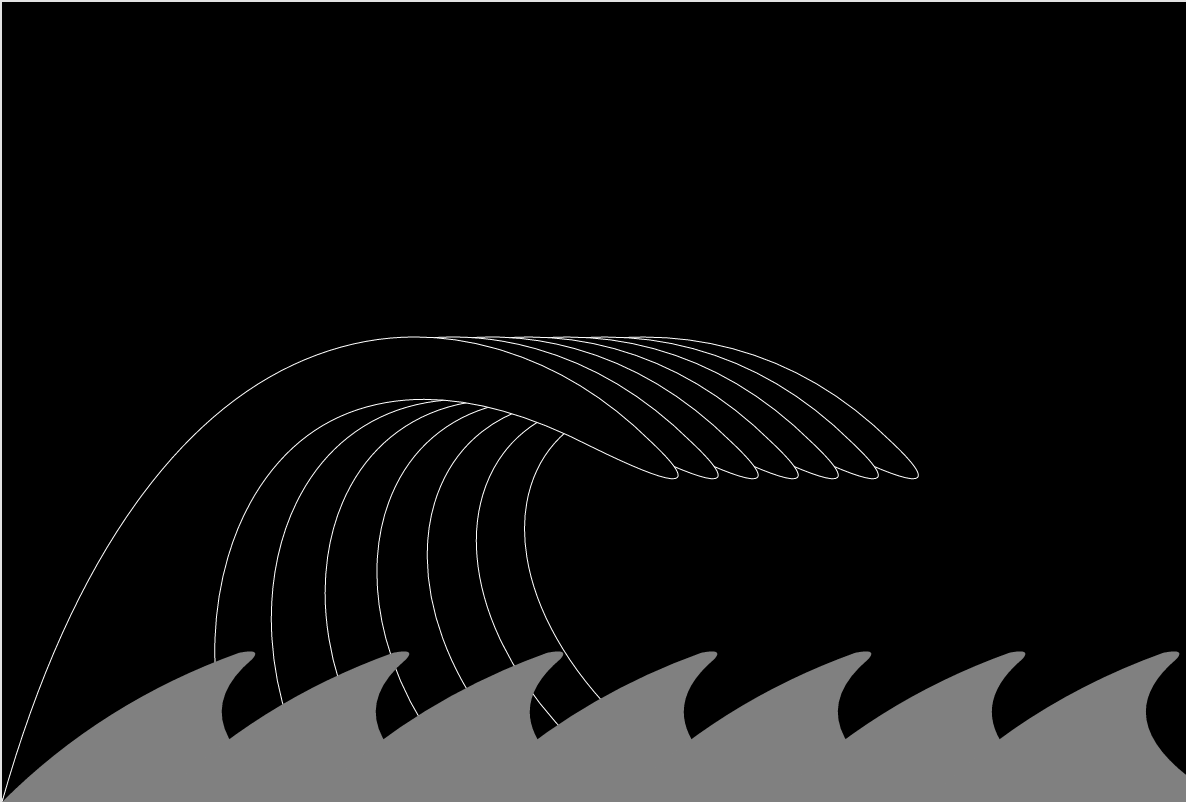
I broke this down into steps: big wave, tide waves, surfboard
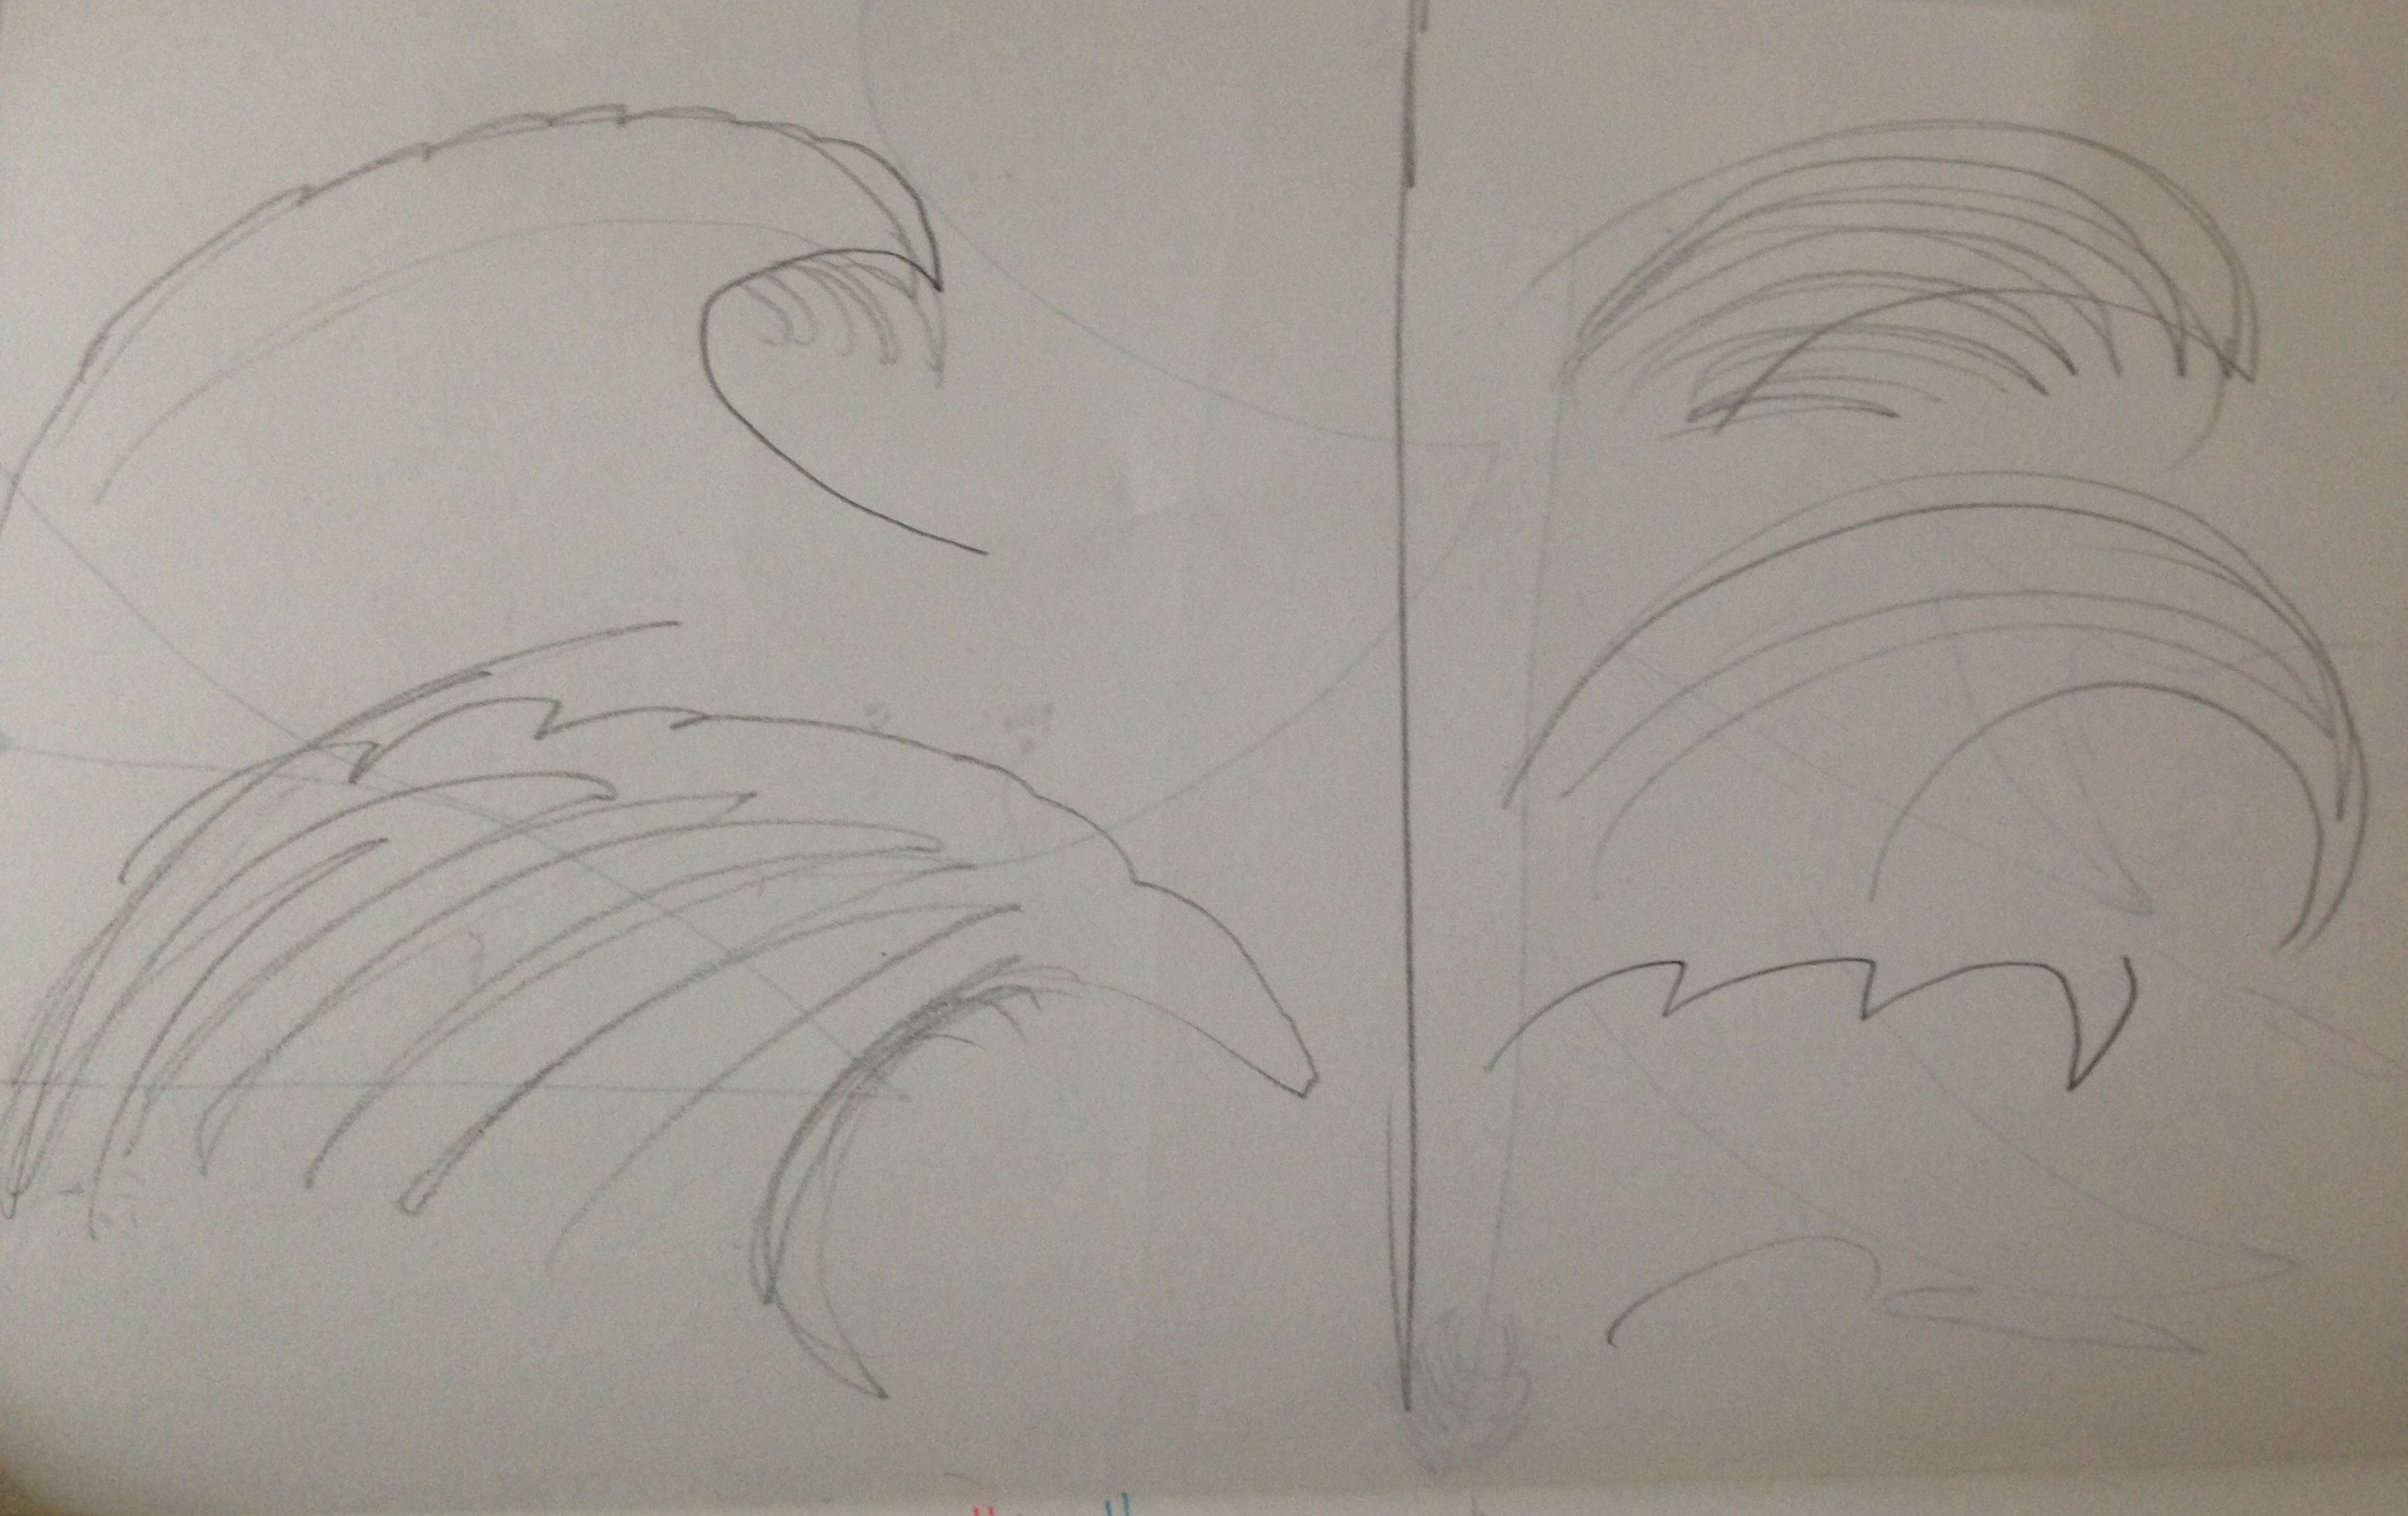
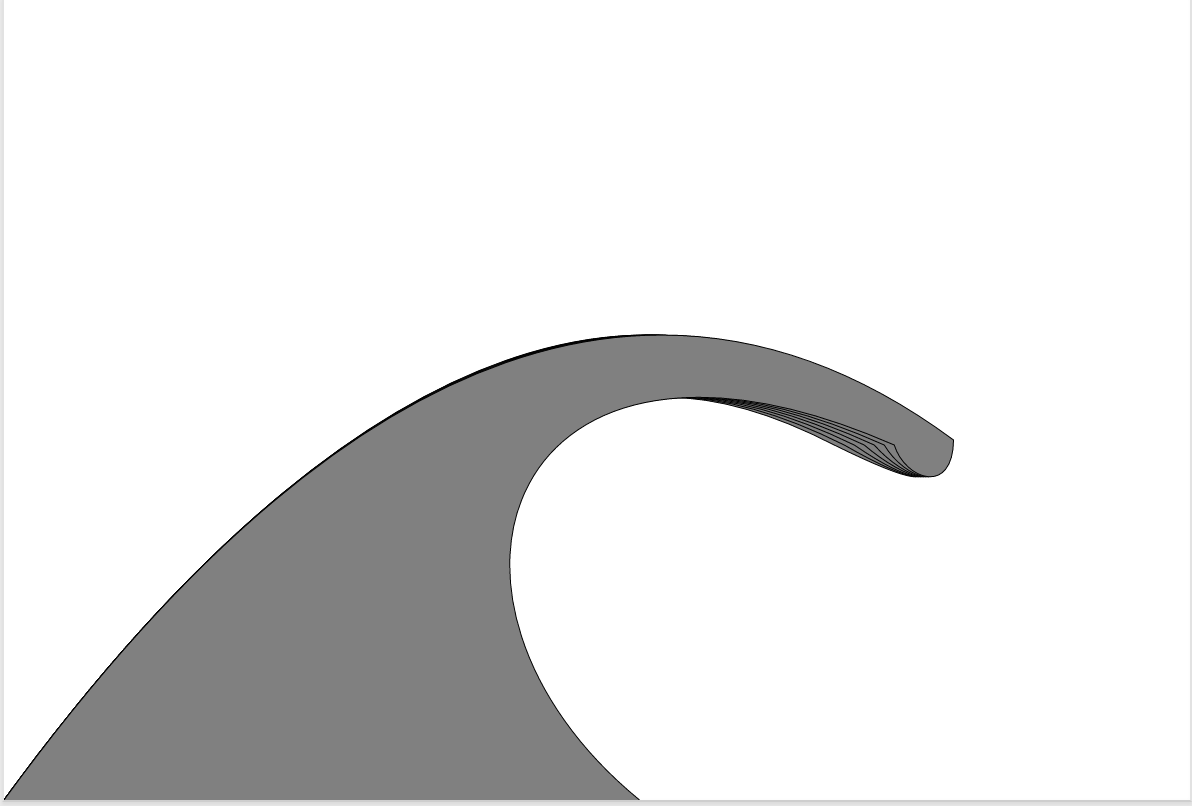
STEP ONE: Code a basic wave with path in a system related to the width/height
As the first attempt at creating paths, a lot was learned from creating this system. I wanted to create a system linked to the canvas size, however, I had trouble with placing the locations of the x,y in the subsequent curveTos, at first.

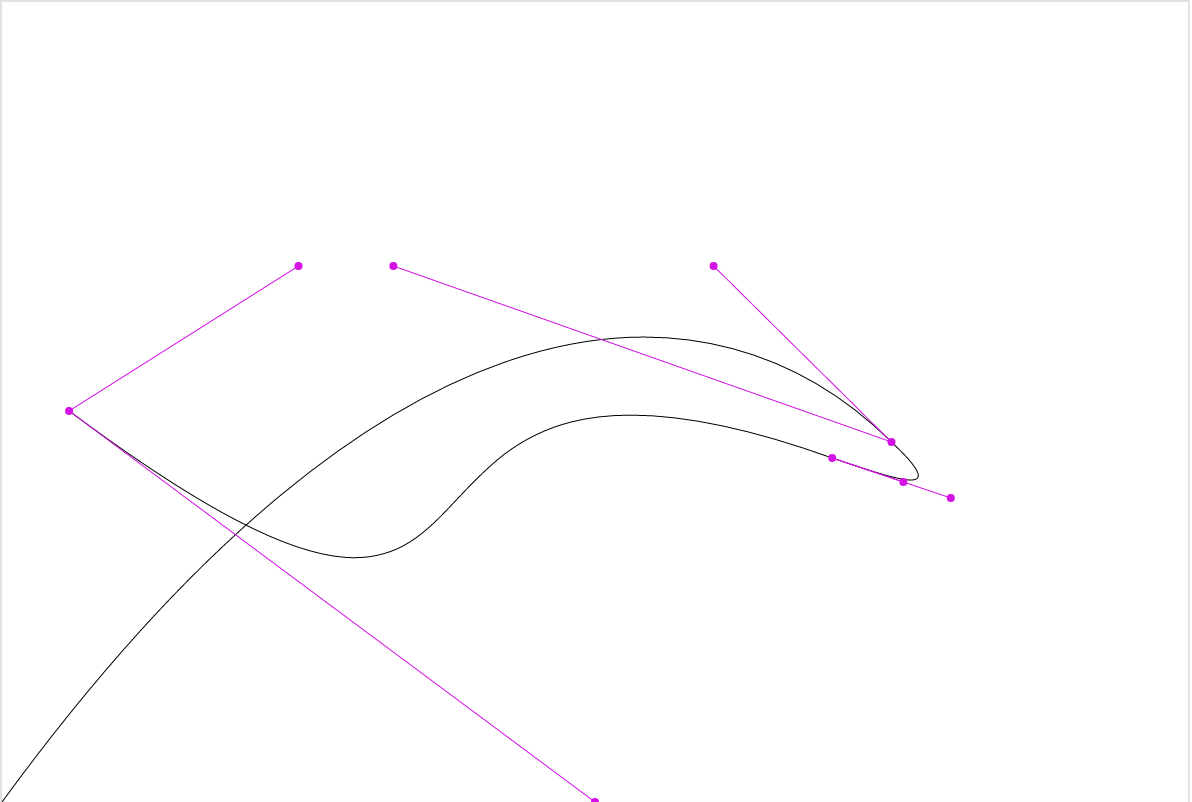
Once I learned that the relation of all x, ys are connected to the initial x,y passed into the path, setting that as the 0,0 point for that path, it made a lot more sense and I was able to press forward.
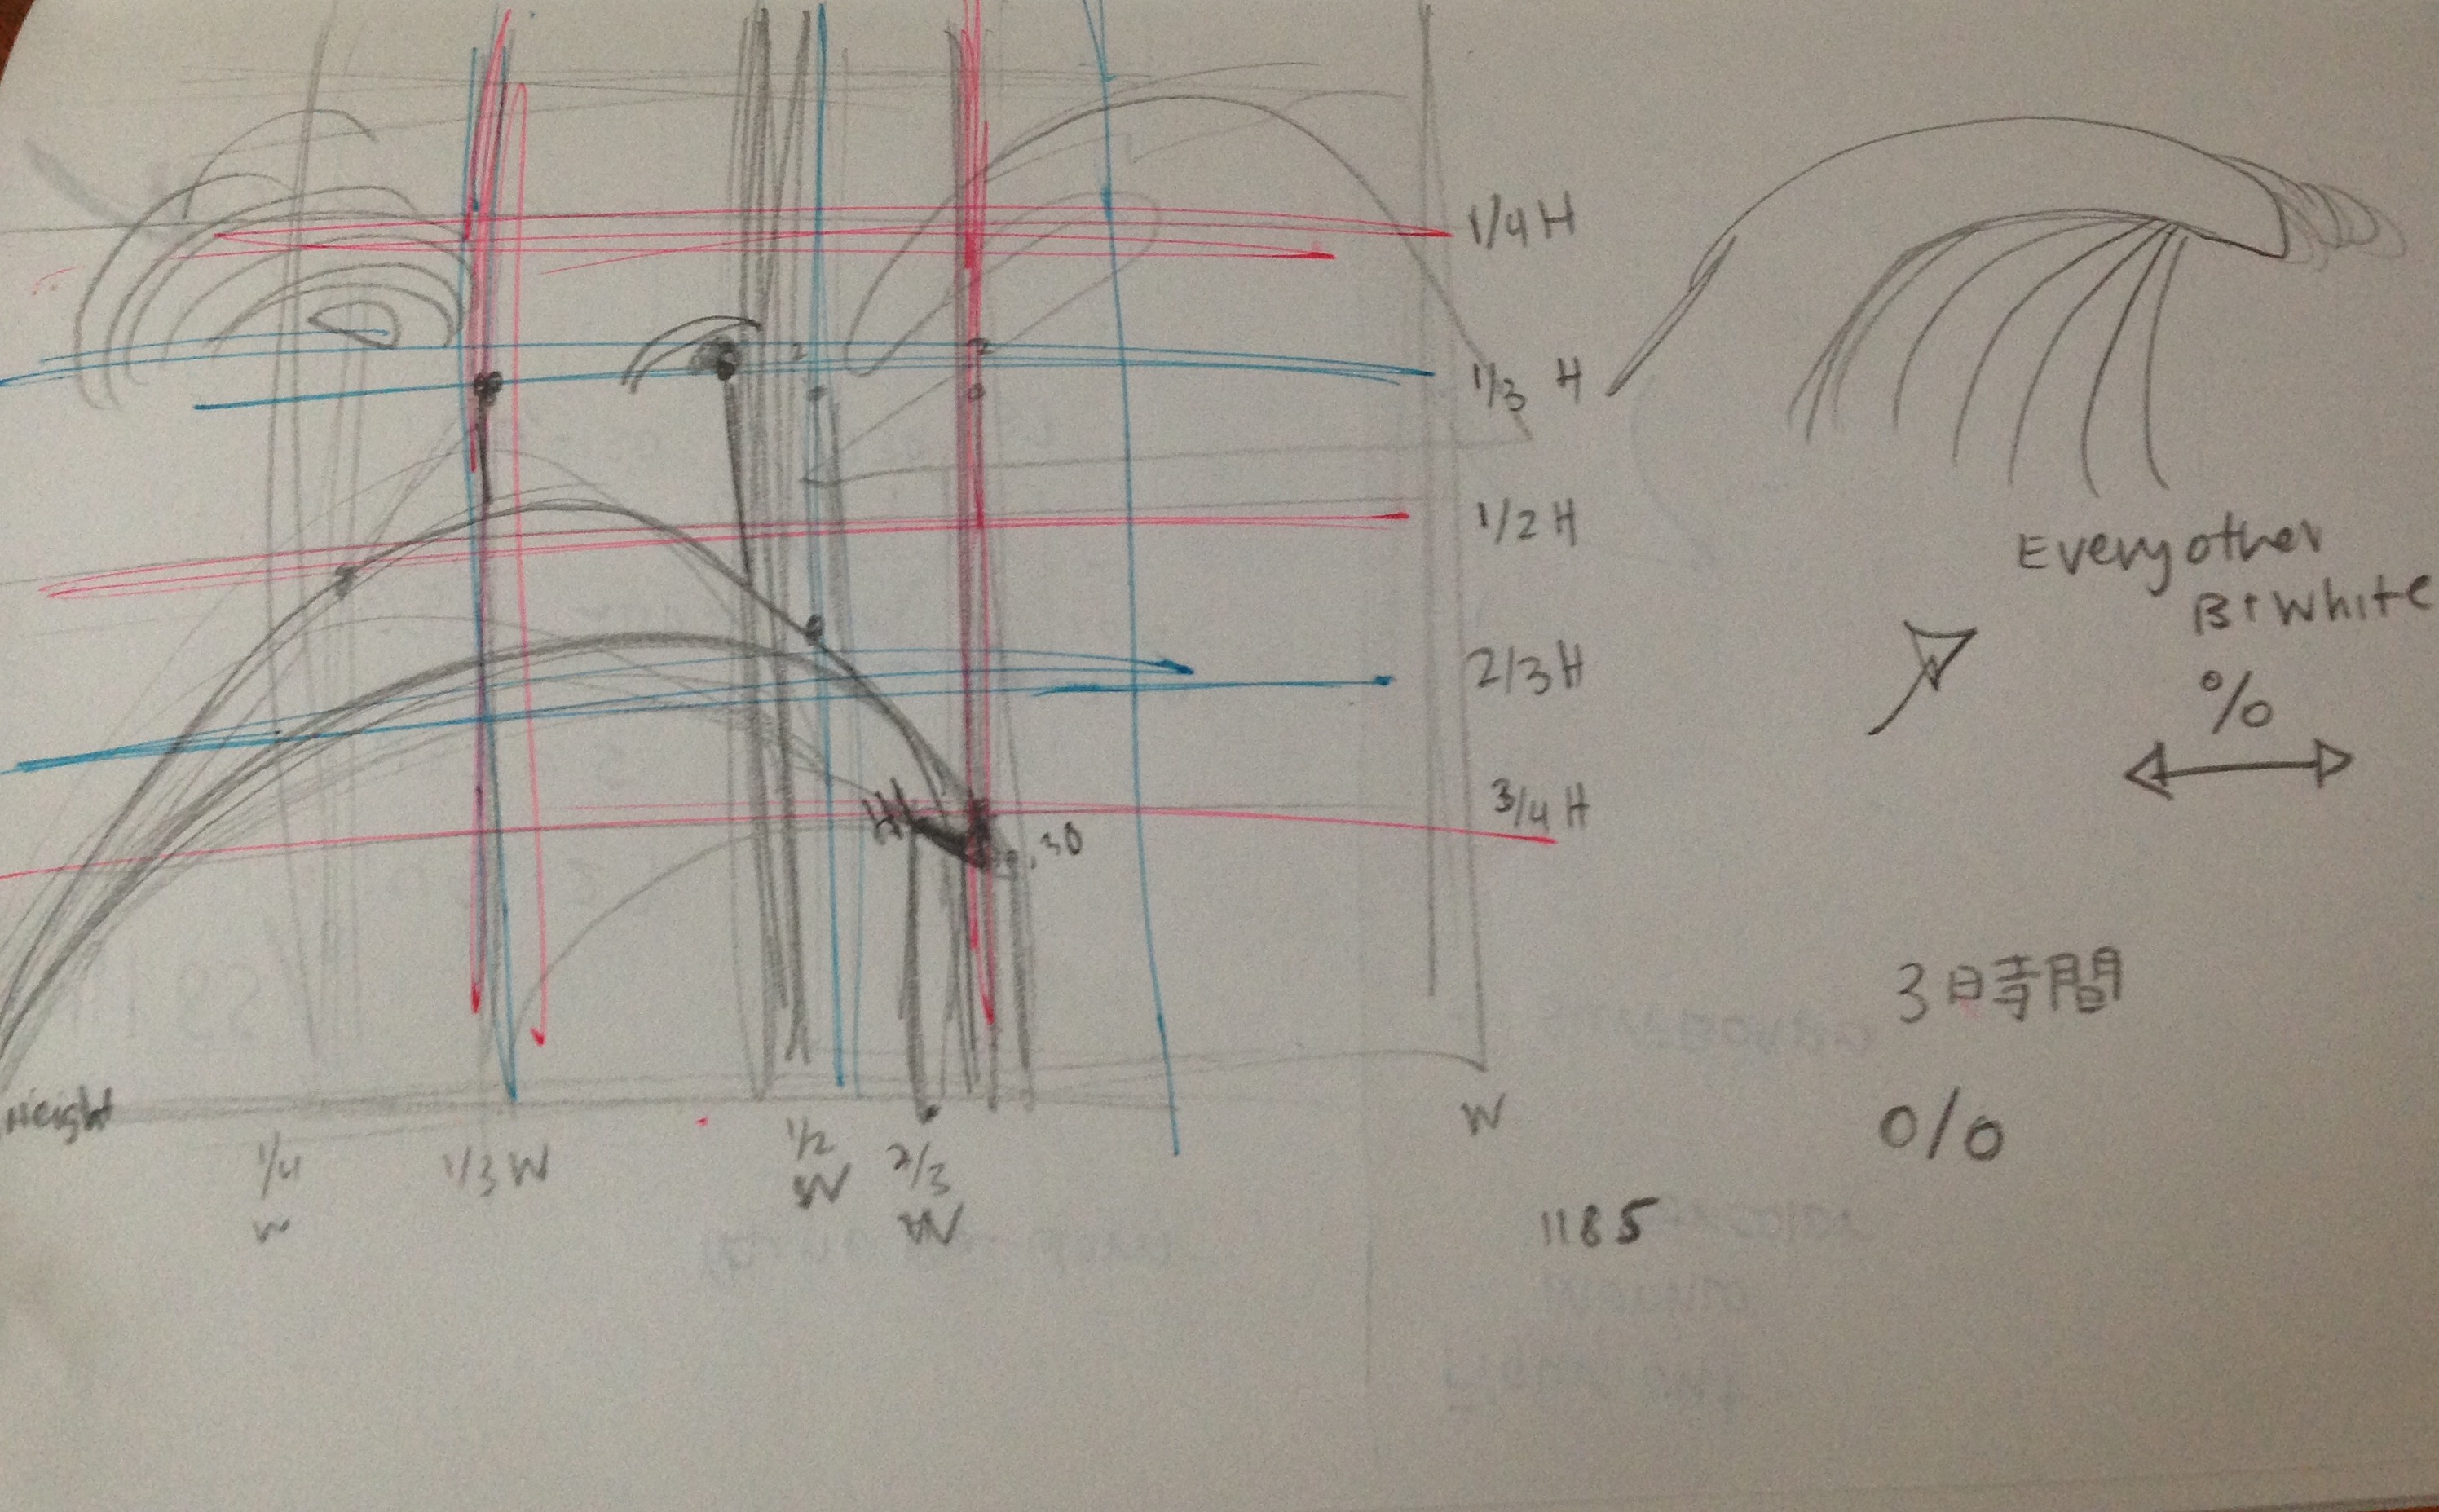
I then played with the for loop to test out the depth of the wave and how many multiples of it worked best for the design. I kept the shape connected to the height of the canvas and created a variable for spacing to separate the iterations and create a sense of depth, geometrically distanced.
I also tested out modulo for filling every other, every third and the first and the last wave iterations, but it looked best at its most simple fill.
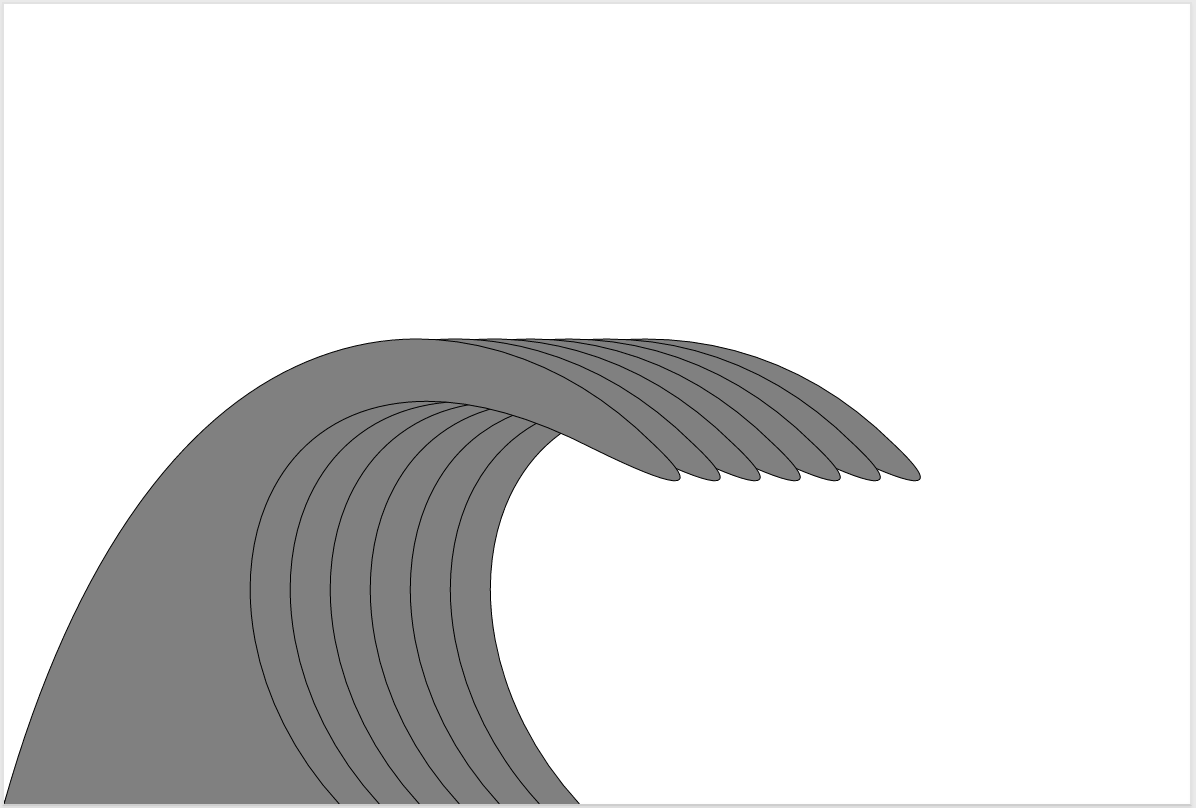
STEP TWO: Coding the Tide Waves
Creating the tide waves involved a lot of experimenting with curve and placement. I initially made one wave to set the tone for placement and look. I wanted to duplicate the wave across the x-axis which I was able to do with a for loop. This path was also connected to the canvas’s height.
The goal was eventually to have each wave randomly have a different height and inner curve to it. However, with much testing, I was only able to get that to work with varying inner curvature. Changing the height created a non-cohesive and off style look of the curve of the tip of the wave. In the end, I decided to keep each tide wave the same as the next.
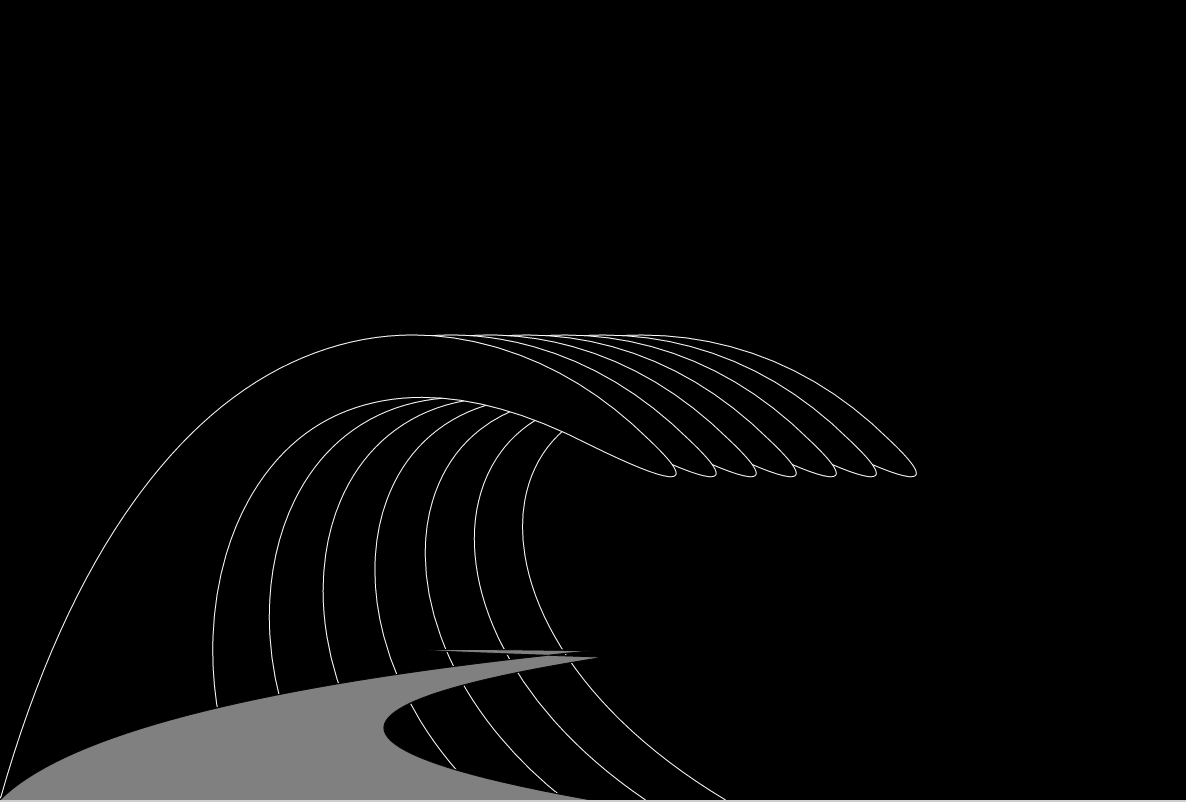
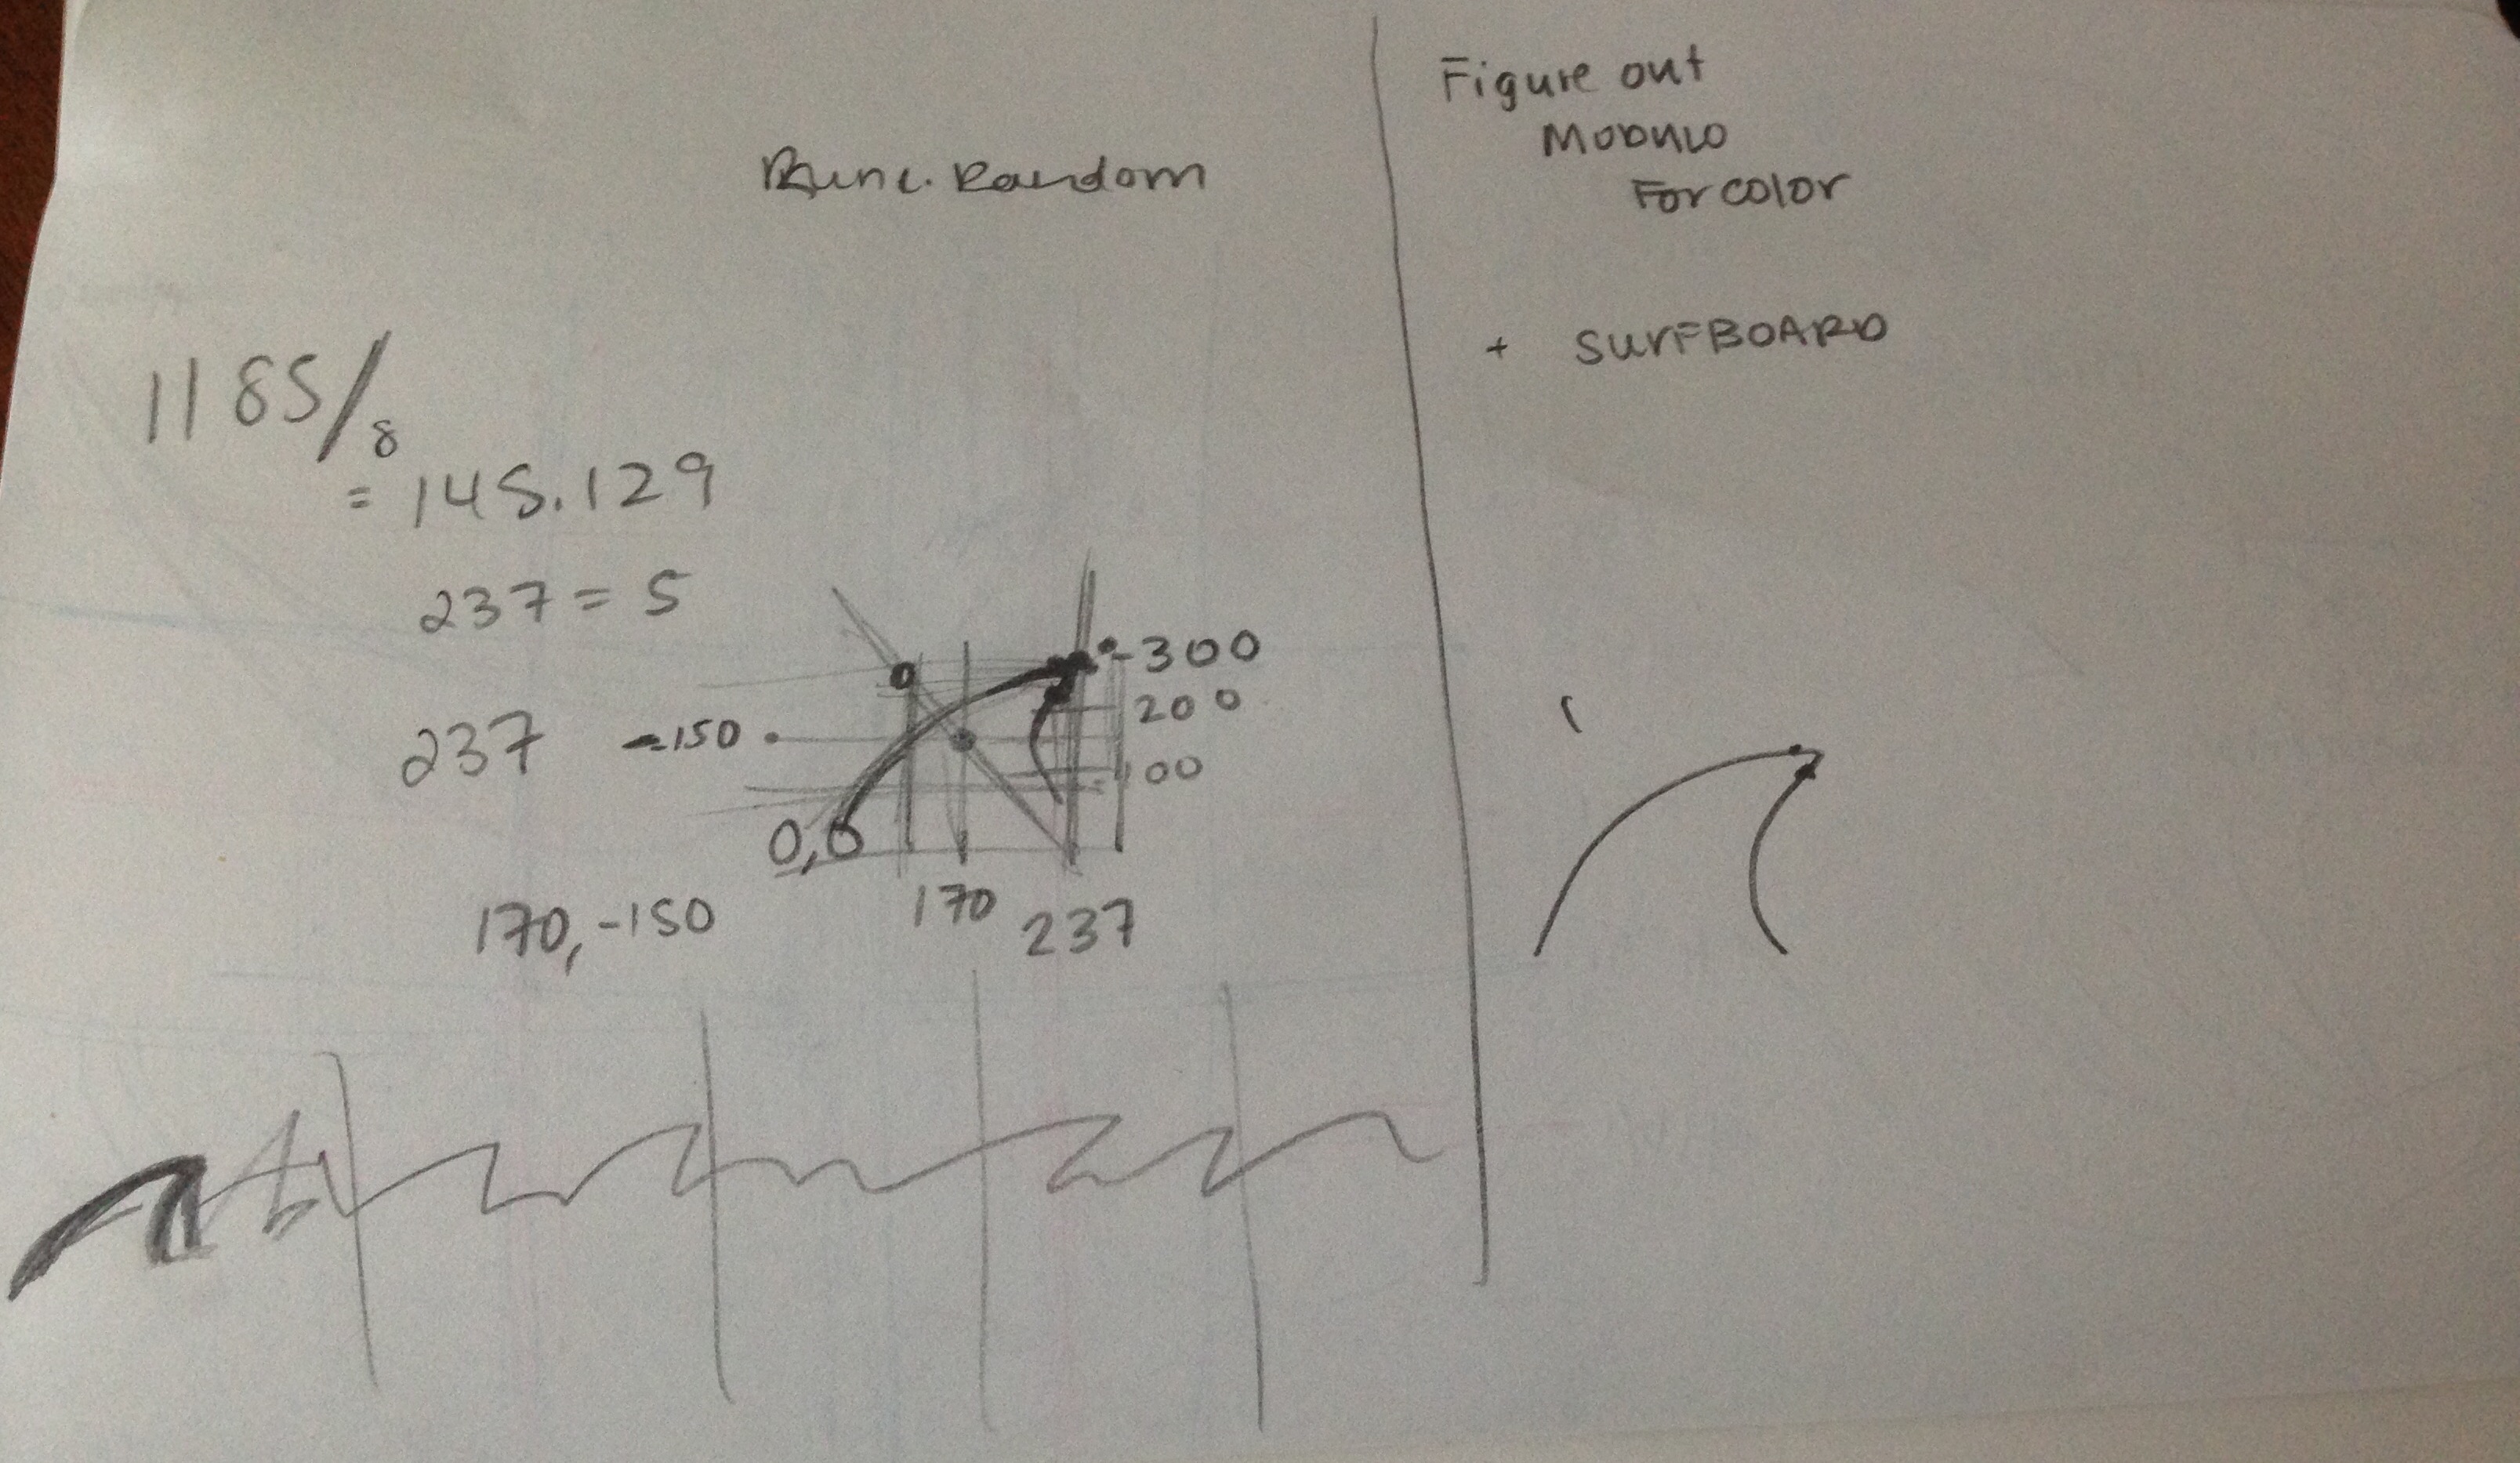
STEP THREE: Coding the Surfboard
The challenges for the surfboard:
- Find a way to place it on the canvas so that it directly connected to the height of the wave
I managed to use a variable connected to the height as well as the spacing of the tide waves, versus the big wave. It works for this canvas. - Find the mid point of the curve of the board with sin/cos in order to place the surfboard’s fin in the appropriate location relative to the center of the board.
I tried testing this out but it was not successful for finding sin/cos. I also found a way to place it relative to the board top, within the same path as the top part of the board. With fill set at white and stroke set to false, it works.
the final design
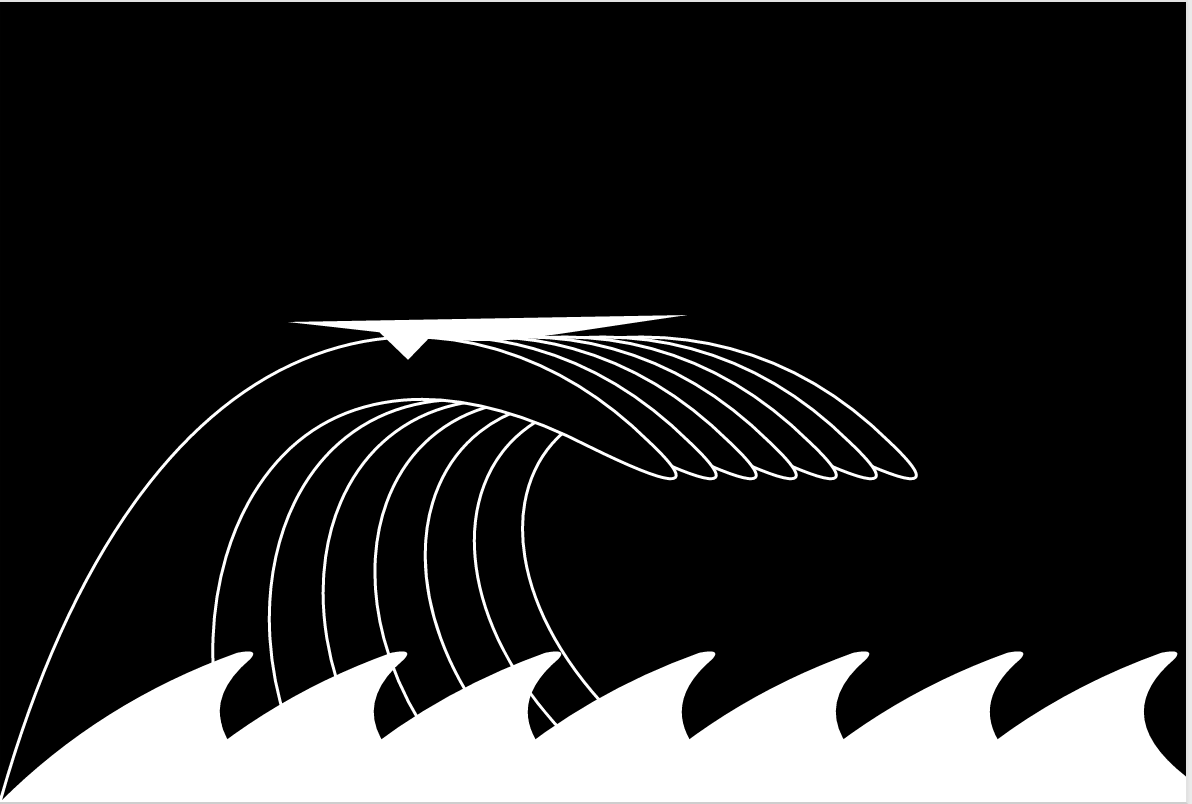
HokuSurf’s Up
Leave a Reply