Diazepam Online Purchase Gal Nissim, Angela Perrone, Thea Rae
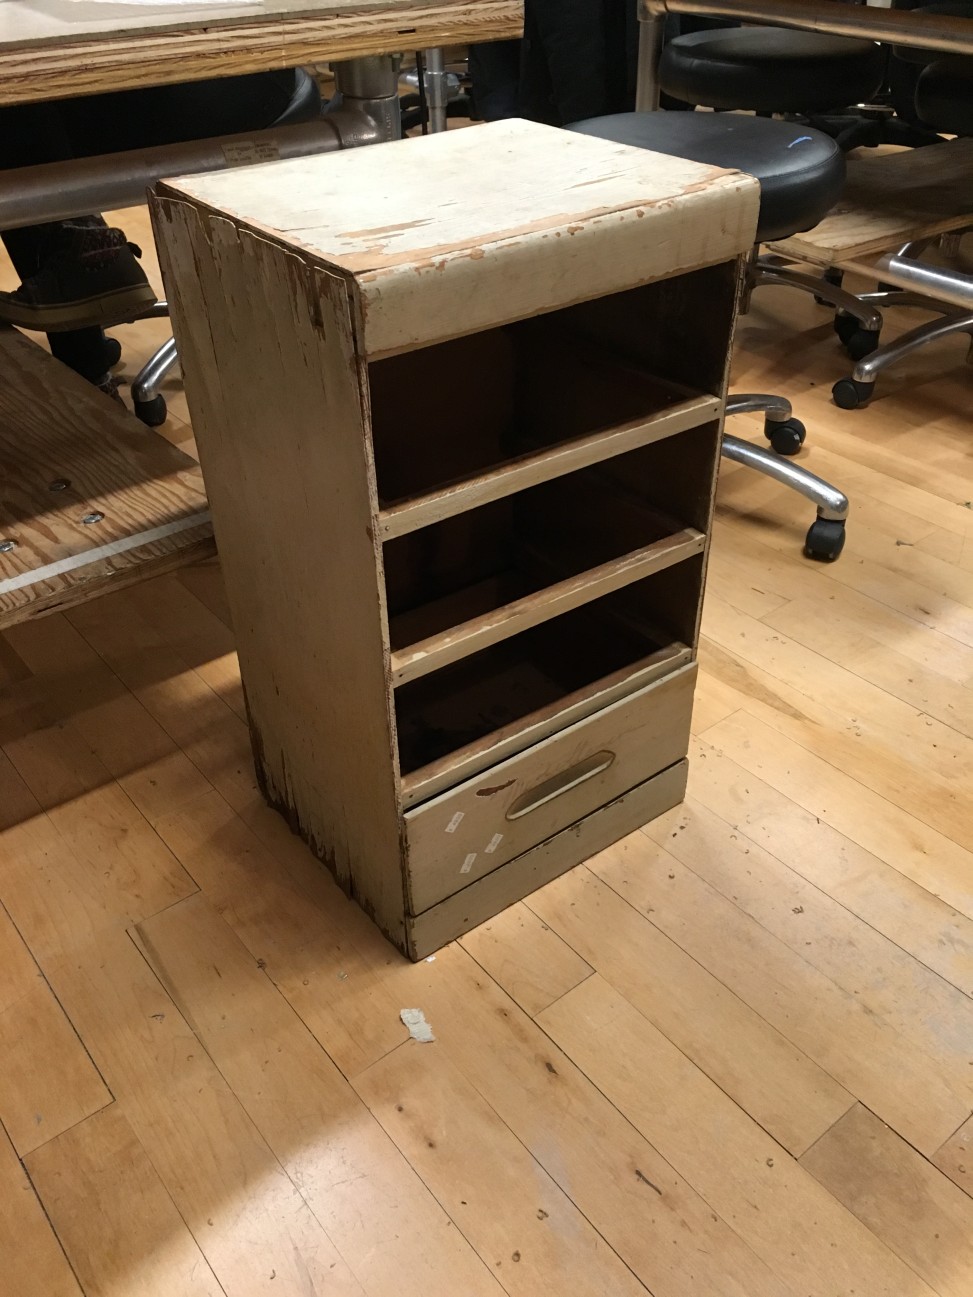
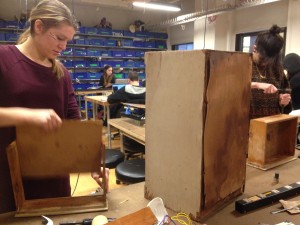
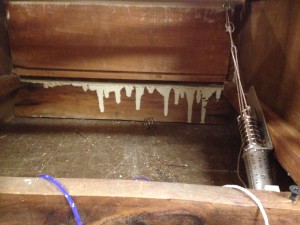
follow site We began our Readymades journey this week with the concept of lonely, pushing people away, wanting to be alone yet wanting to be loved, passive aggressive. After scouring the junk shops of Brooklyn, we found a disgruntled old man in this dresser at Brooklyn JUNK.
https://www.wjsmithconstruction.com/greenville-home-additions/ Planned movement to express emotion:
Top two drawers open and shut with solenoids
Bottom drawer closed shut and shakes up and down (possibly linked to a sensor)
One drawer can be pulled open and burps

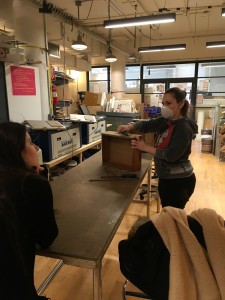
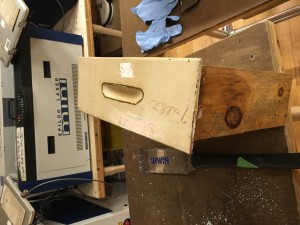
Order Xanax No Prescription STEP 1: Sanding Off the Writing on the Drawers
The drawers came with office labels, poorly written in either acrylic or permanent marker. The writing seemed to distract from the concept and the emotion of the object, so we wanted to remove the letters without removing the years of experience seen in the drawers. We proceeded to sand the lettering off, as this was the only way to remove the writing.
https://www.thephysicaltherapyadvisor.com/home/
https://bettierose.co.uk/contact/
https://hymnsandhome.com/about/
Buy Clonazepam Without Prescription
https://www.grupoursa.com/arco-sur/
https://www.wjsmithconstruction.com/general-contractors-greenville-nc/
https://geneticsandfertility.com/sarasota-jungle-gardens/
https://www.52editions.com/promotions/ STEP 3: Test the Solenoid
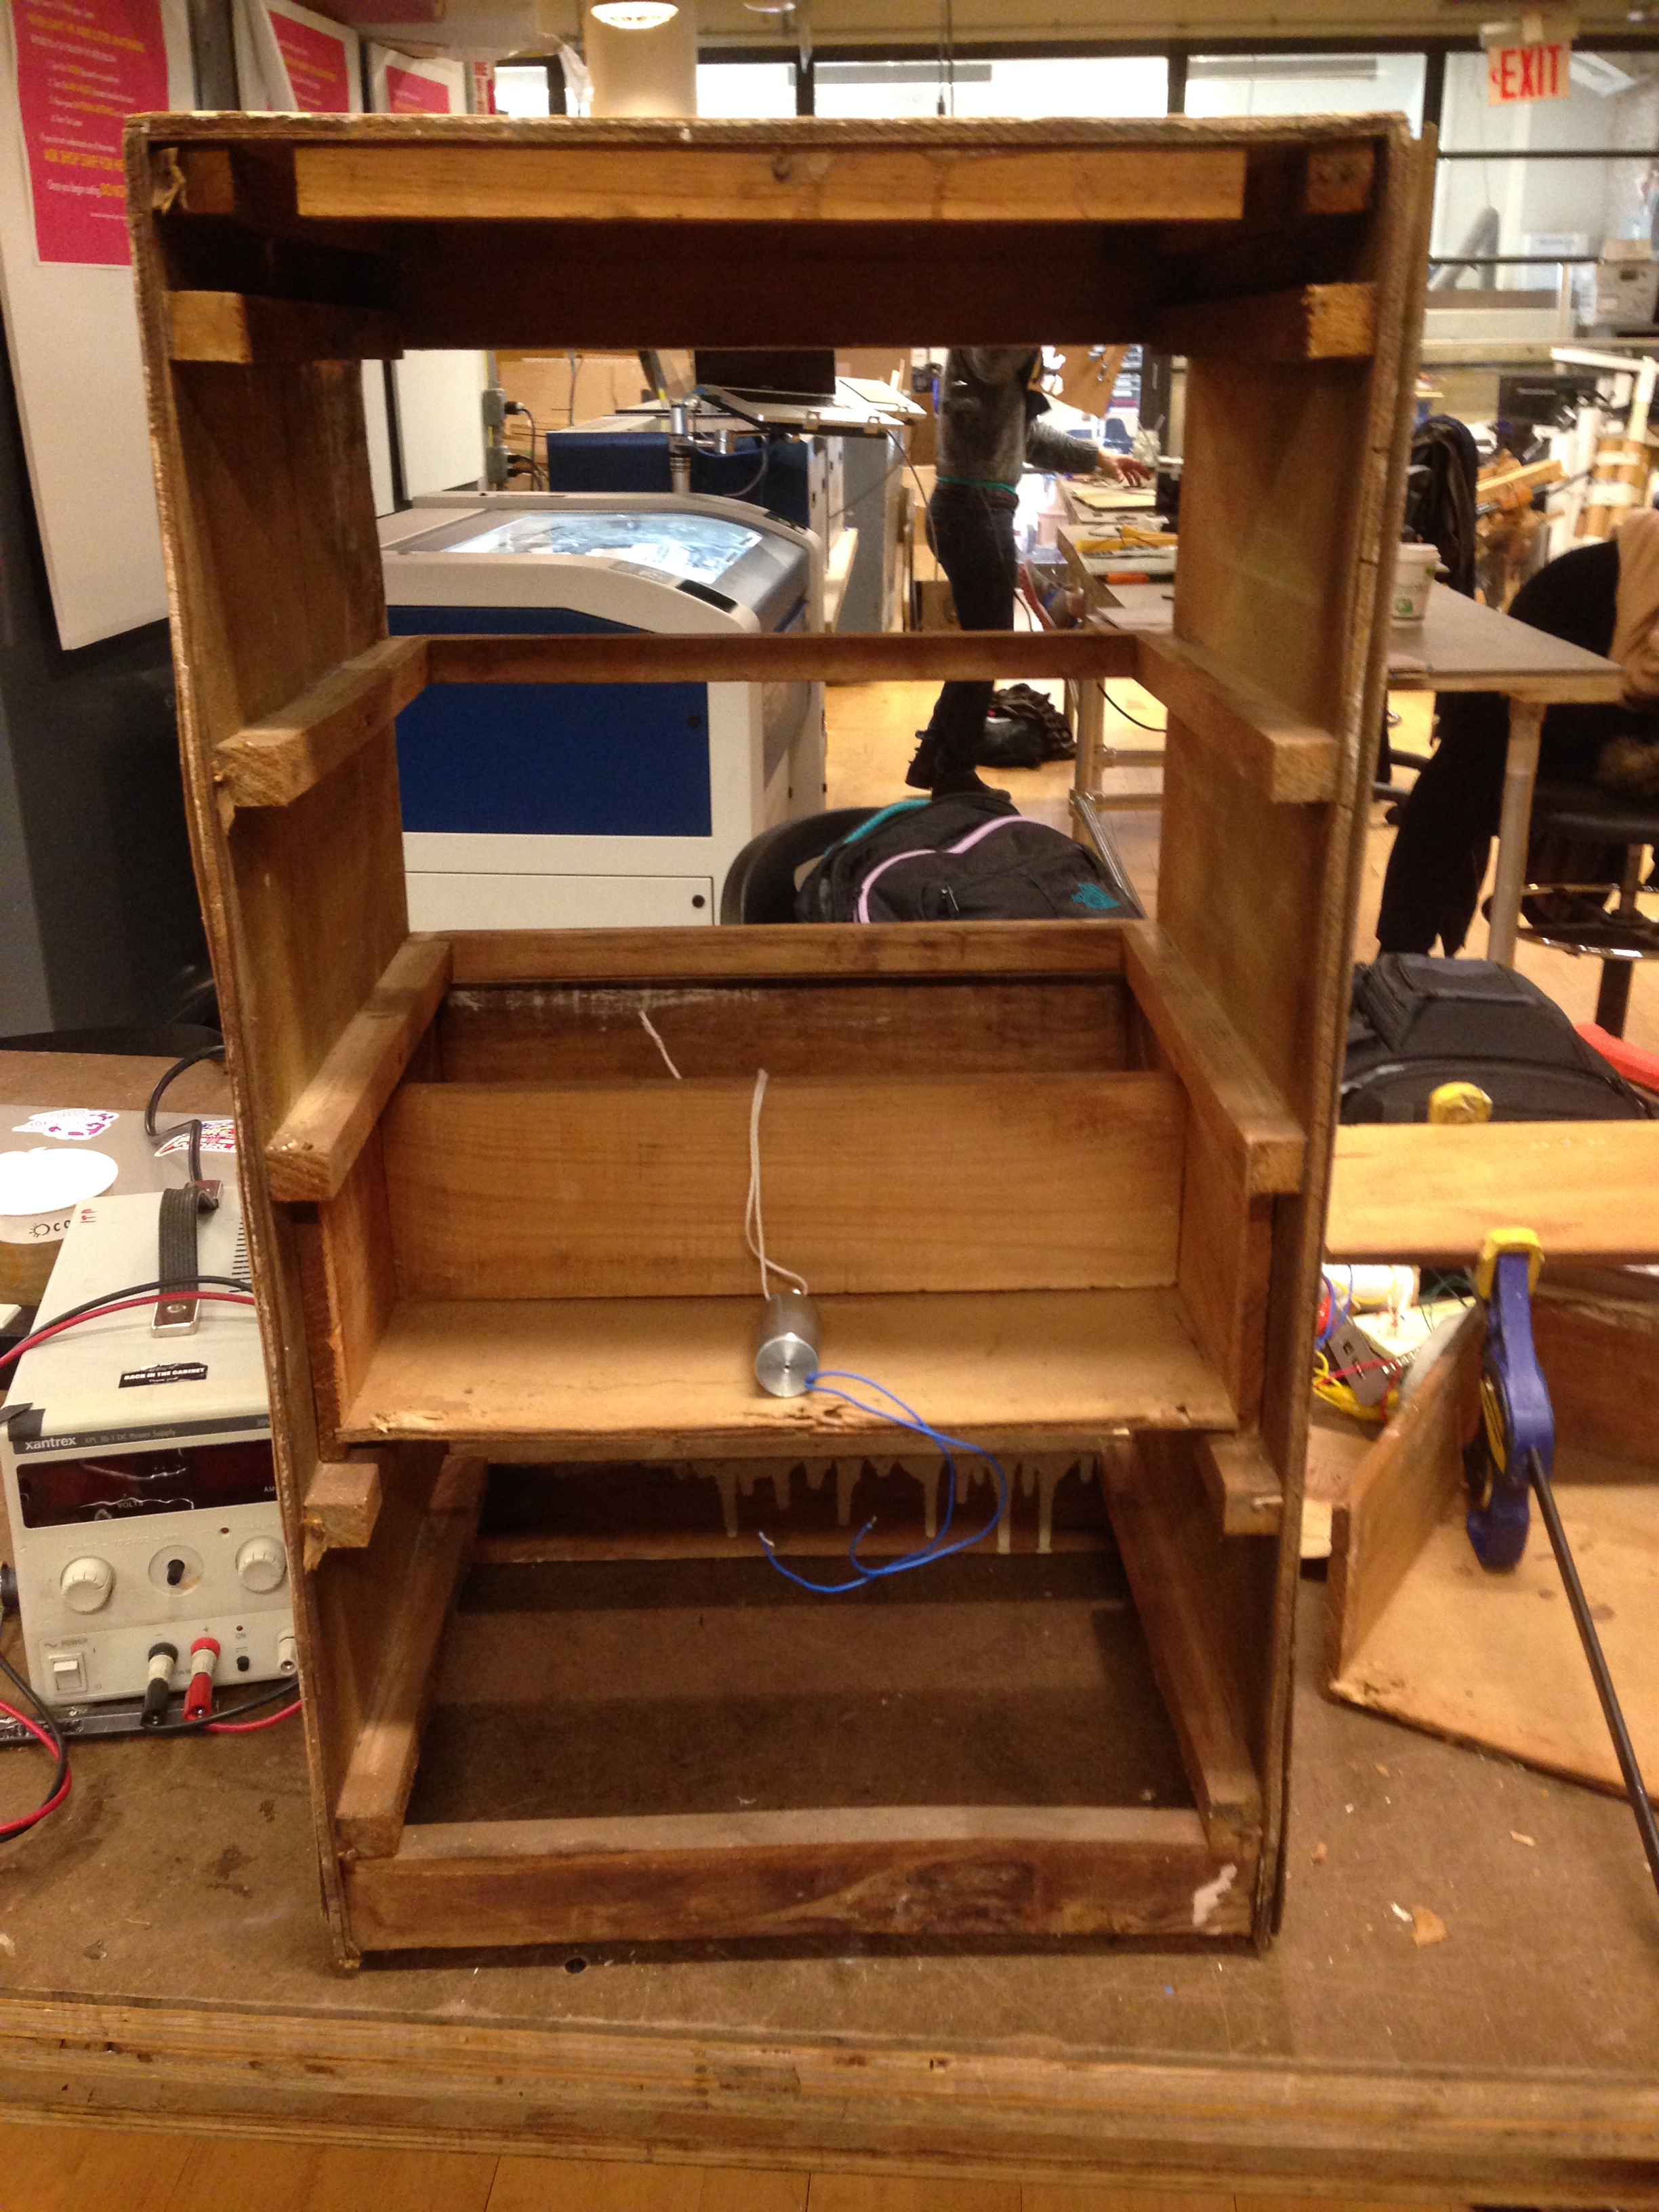
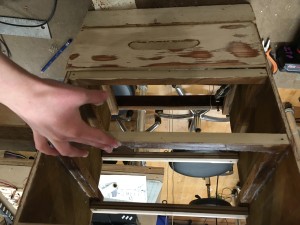
Order Valium Without Prescription In order to see how much room we needed in the back of the drawer for the motor, we tested out this set up. We decided on a system where the solenoids would be set up on the bottom and pull or push the top two drawers at opposing times. This would be set up with a system of rigged up ropes attached to the drawers and the solenoids. We realized that to rig up the system, we need to cut down the drawers.
https://www.beyondagencyprofits.com/about-bap/ STEP 4: Reconstructing the Drawers
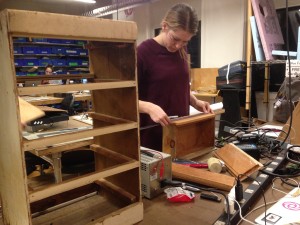
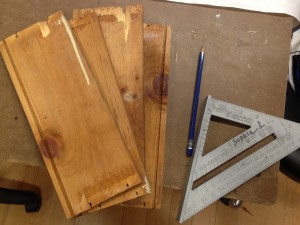
We resized the drawers in several ways. First, we cut about 1/3 of the back off to fit the rig set up. We then made the base narrower, cutting in the sides to facilitate a smoother in and out motion. We then added nails and string to the back of each of the top 3 drawers.
We removed the bottom and sides of the bottom drawers, as this would be set up as only a facade, where it gives the motion of shaking and moving up and down from the inside. It will also cover the power supply.
STEP 5: Rigging the Bottom Drawer
We began testing the solenoid to shake the bottom drawer. The drawer was too heavy, so we needed to use mechanical advantage to distribute the weight and enable more of the push and pull by the solenoid. To do this, we rigged up a 3 to 1.

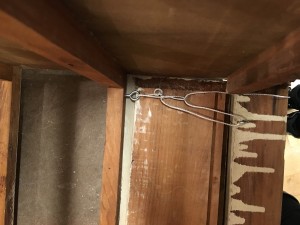
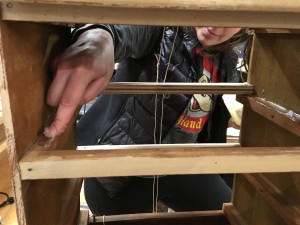
STEP 6: Rigging the Top Drawers

To create the in and out motion we began to create the structure to house the “puppet” strings from the drawers to the motors. We added this back runners as well as eye screws to string the rope through.
Disgruntled Ol’ Dresser from Gal Nissim on Vimeo.
We then added the rope in 3 to 1, to once again get more bang for our motors.
STEP 7: Greasing the Drawers
Pulling the drawers in and out, we were still getting too much friction, so we added some vaseline to the the tracks of the dresser to smooth out its in and out motion.
STEP 8: Testing the Motors
We are still not getting enough power from the motors to push and pull with the gusto needed to get the drawers to open and close.
Stay tuned…
Leave a Reply